All Scissorman Hiding Places listed here are random to one degree or another.
Belfry

|
| Hiding Places |
Weapons |
| None |
None |
| |
| Scissorman Hiding Places |
Items |
| None |
None |
| |
| Things to do |
Watch the ending play out
Win a Panic Mode
|
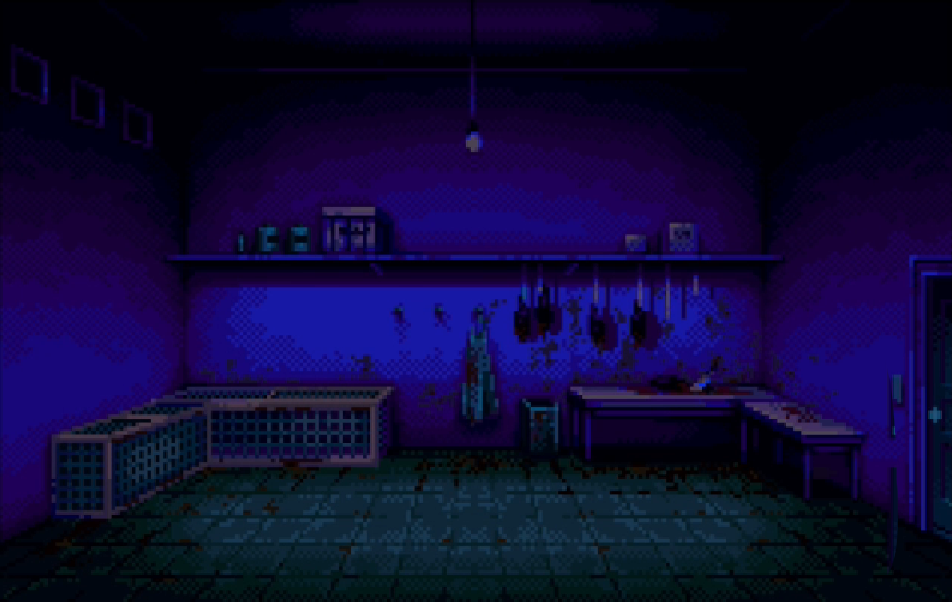
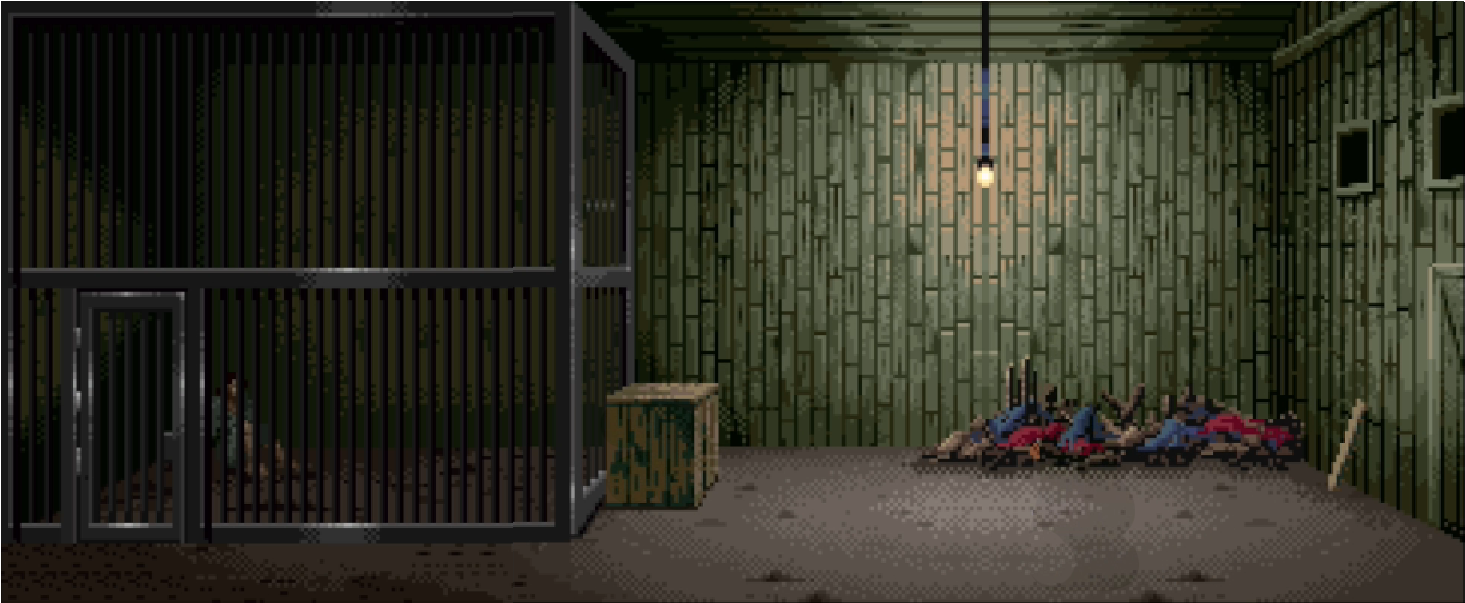
Cage Room
|
| Hiding Places |
Weapons |
| None |
Meat cleaver on the table by the dead crows |
| |
| Scissorman Hiding Places |
Items |
| None |
Original Mode: Cage Key
Rewind Mode: None |
| |
| Things to do |
| Use the Cage Key to release the crow |
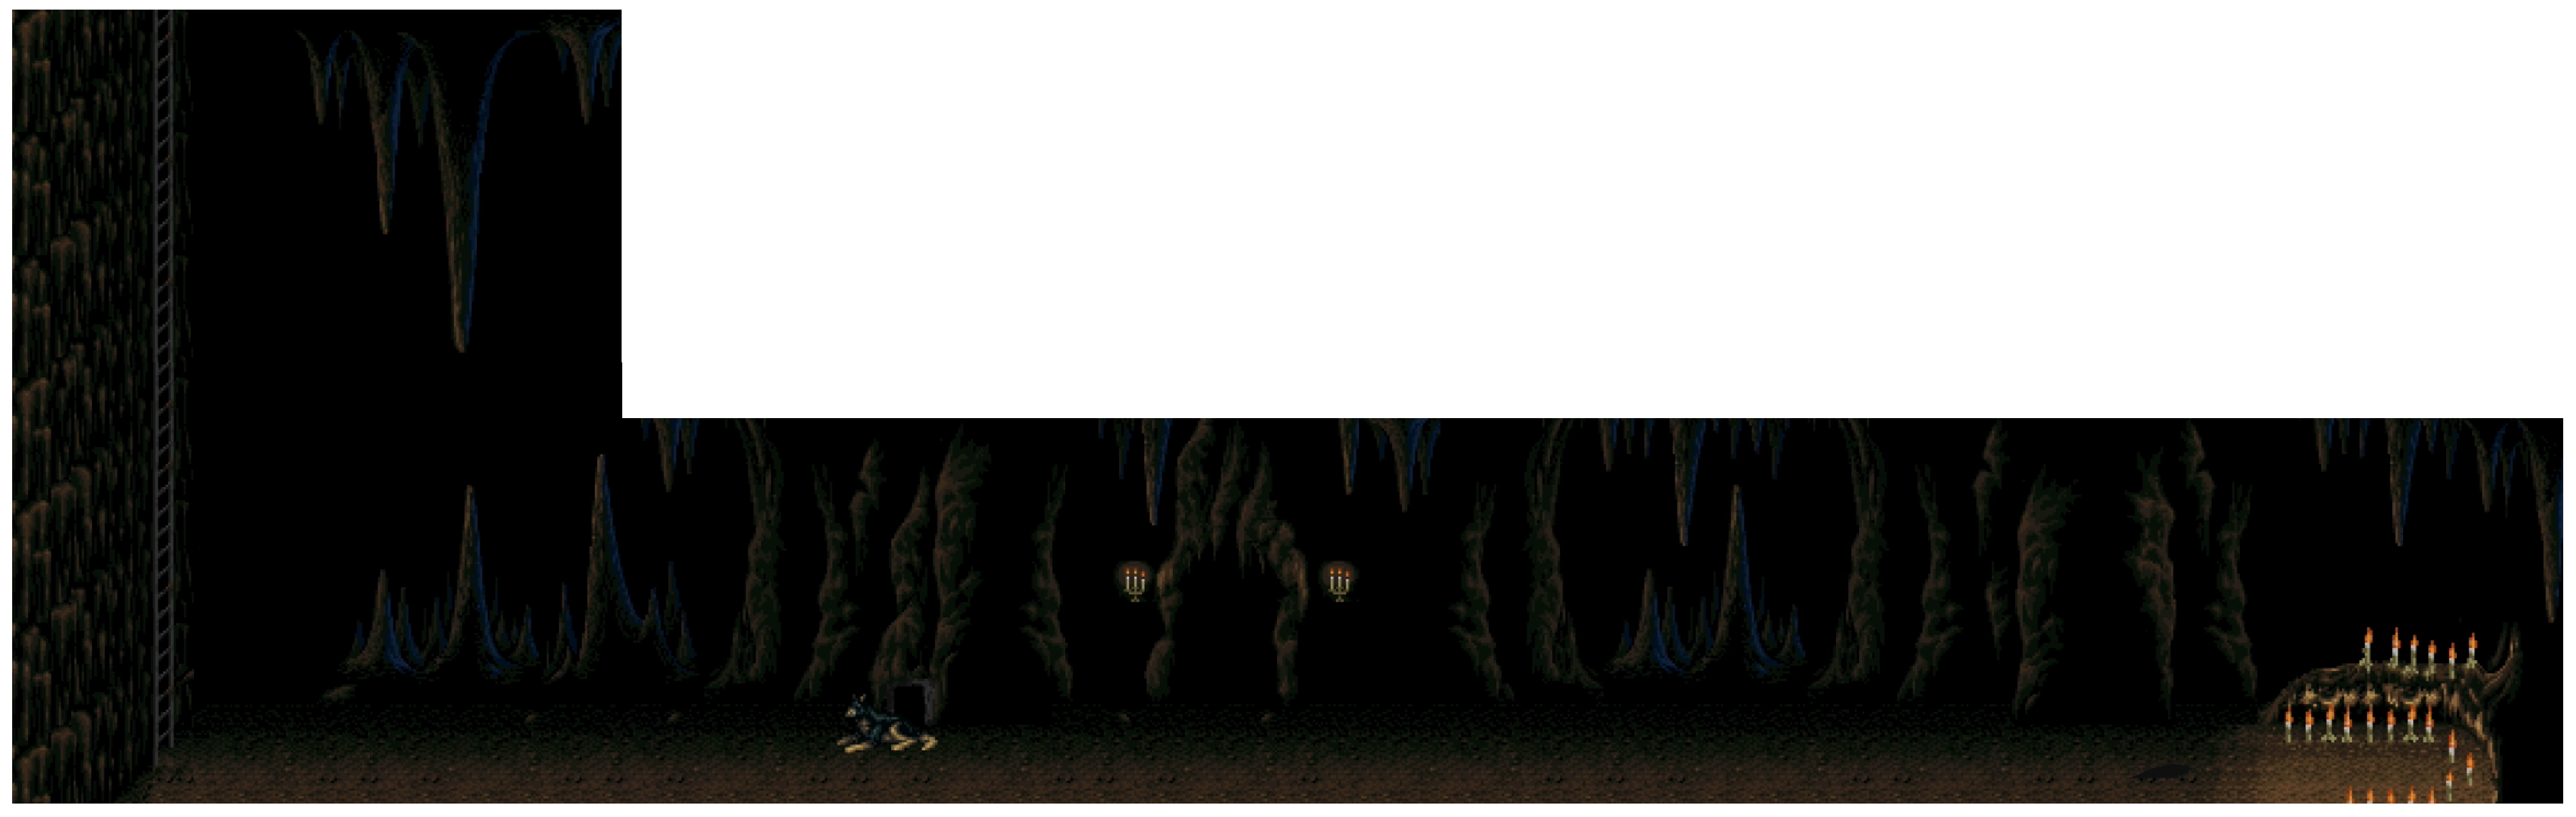
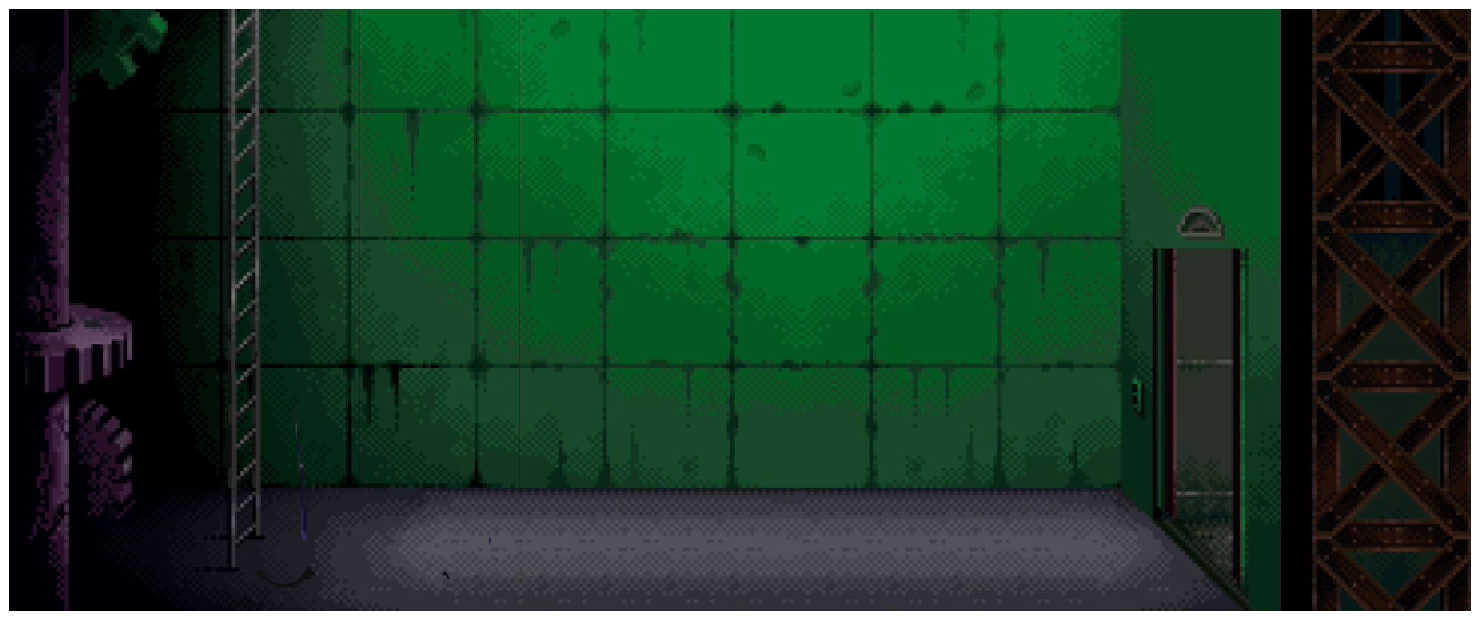
Cavern 1
|
| Hiding Places |
Weapons |
| None |
None |
| |
| Scissorman Hiding Places |
Items |
| None |
None |
| |
| Things to do |
Sneak past the guard dog
Talk to Lotte (if she didn't die in the shed)
|
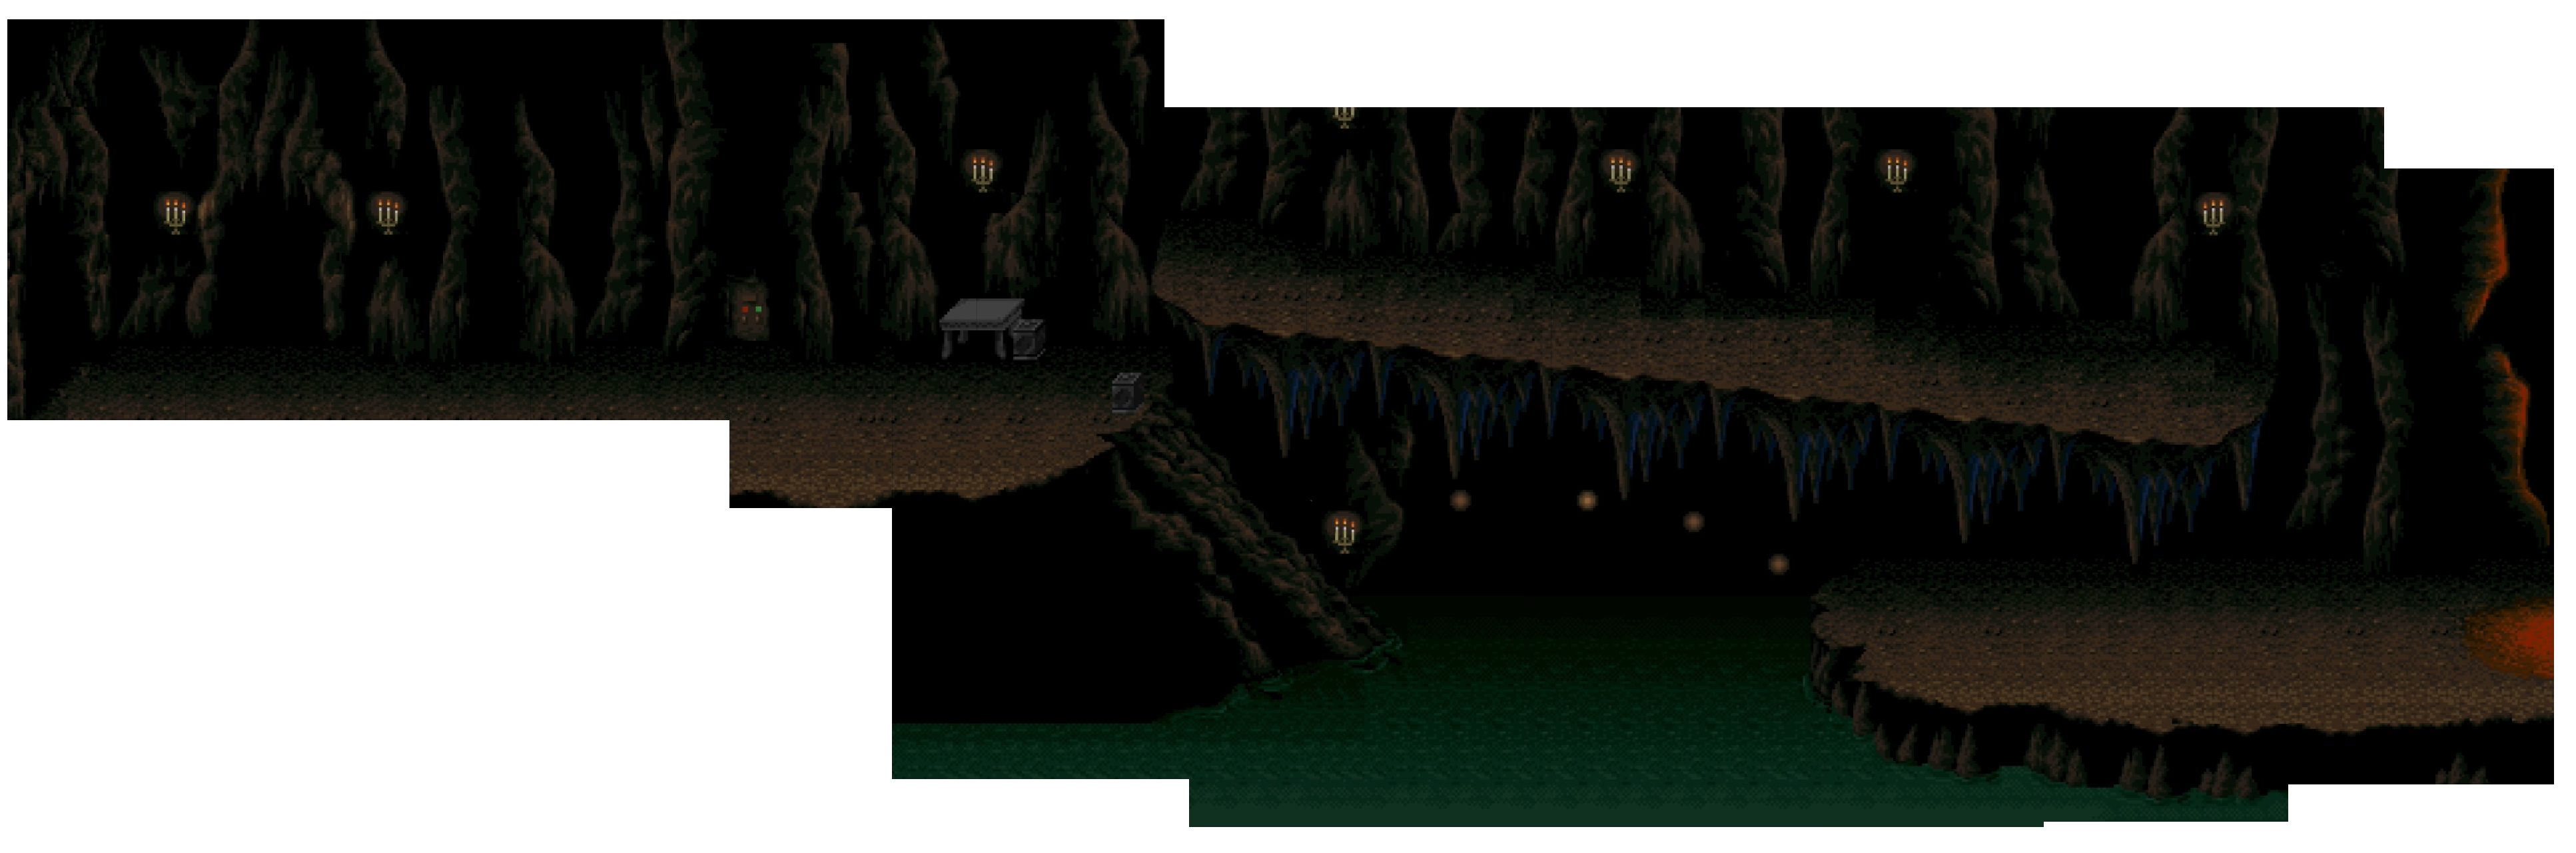
Cavern 2
|
| Hiding Places |
Weapons |
| None |
None |
| |
| Scissorman Hiding Places |
Items |
| None |
None |
| |
| Things to do |
|
Rewind Mode: power the elevator
|
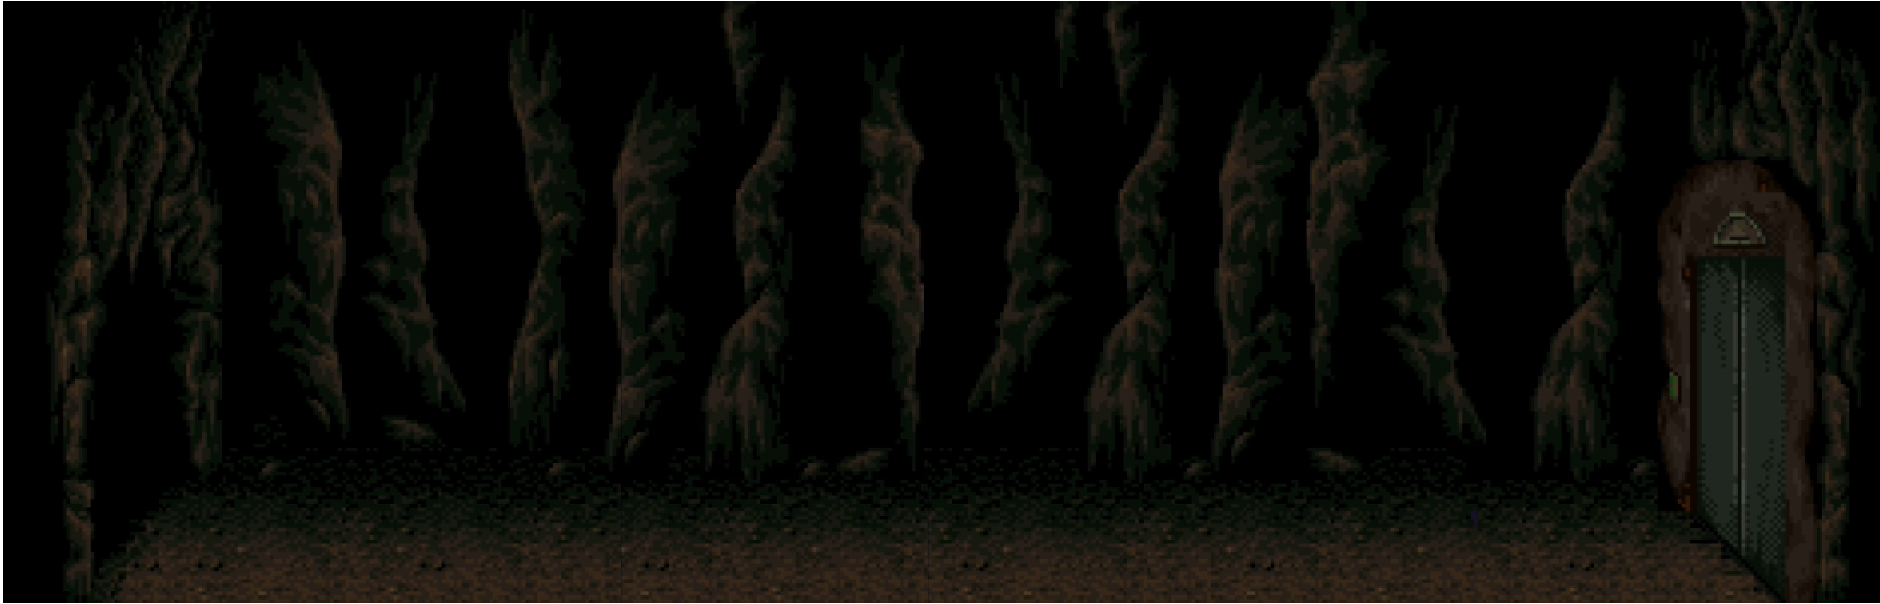
Cavern 3
|
| Hiding Places |
Weapons |
| None |
None |
| |
| Scissorman Hiding Places |
Items |
| None |
None |
| |
| Things to do |
|
Escape in the elevator.
|
Corner Hall (East)
|
| Hiding Places |
Weapons |
| None |
None |
| |
| Scissorman Hiding Places |
Items |
| None |
None |
| |
| Things to do |
|
Nothing
|
Corner Hall (West)
|
| Hiding Places |
Weapons |
| None |
None |
| |
| Scissorman Hiding Places |
Items |
| None |
None |
| |
| Things to do |
|
Nothing
|
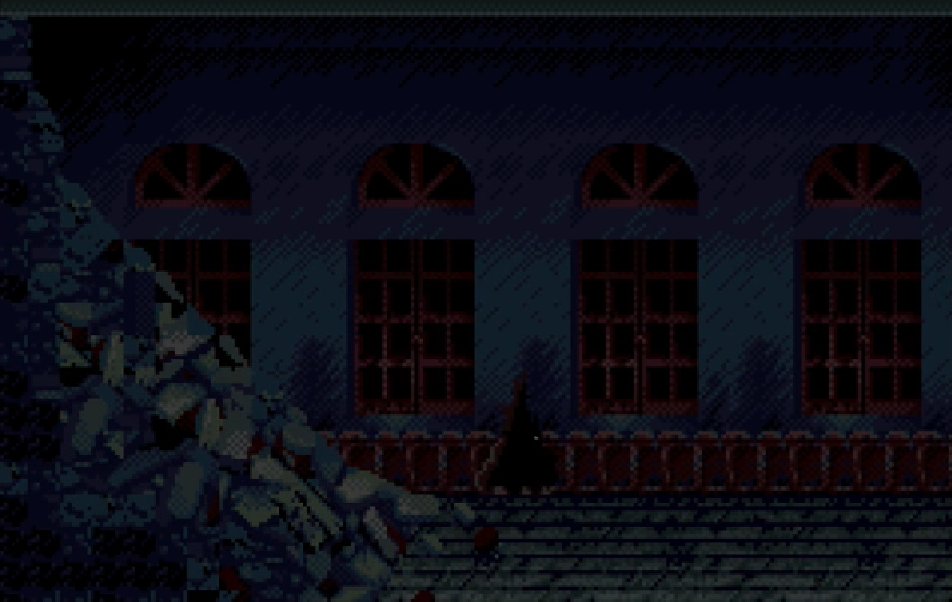
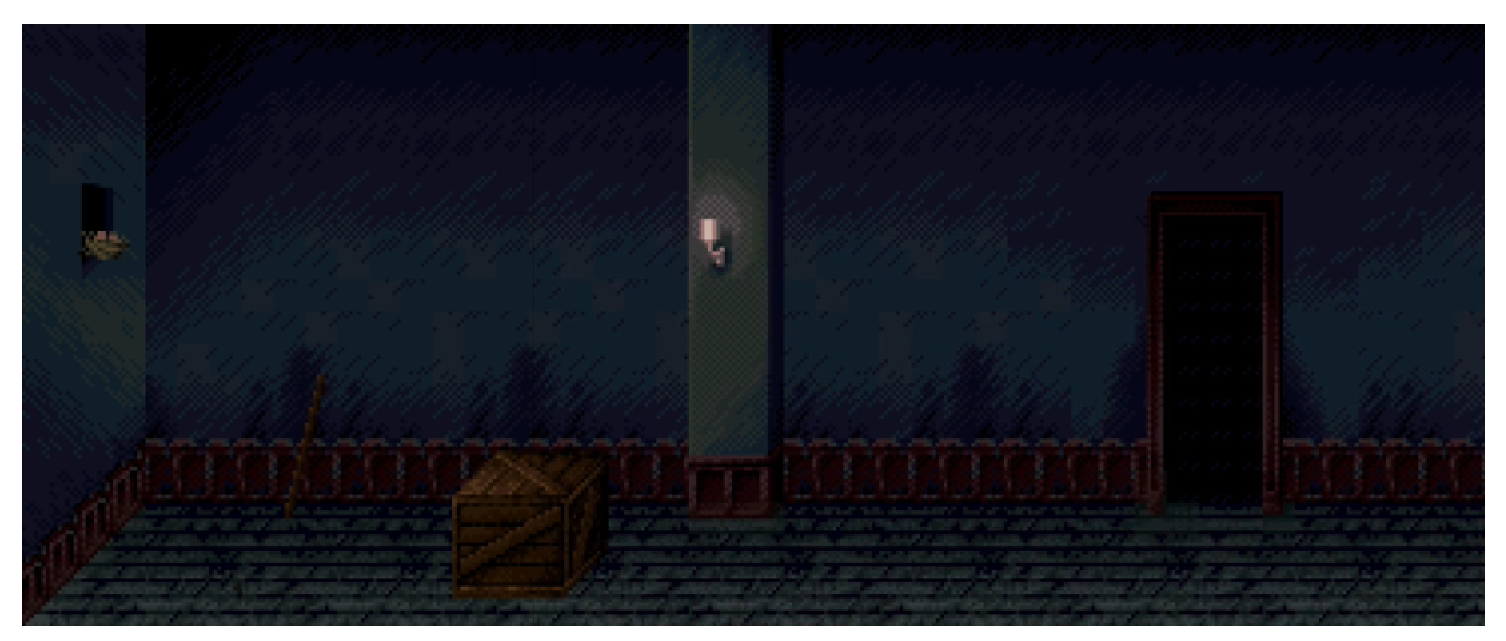
Courtyard

|
| Hiding Places |
Weapons |
| If you widened the crack on the wall with the Sharp-Edged Stone before an encounter, you can crawl through it to escape. |
None |
| |
| Scissorman Hiding Places |
Items |
| Swimming pool, if you haven't seen anyone die yet. |
None |
| |
| Things to do |
|
Move the crate blocking the door to the South Hall
|
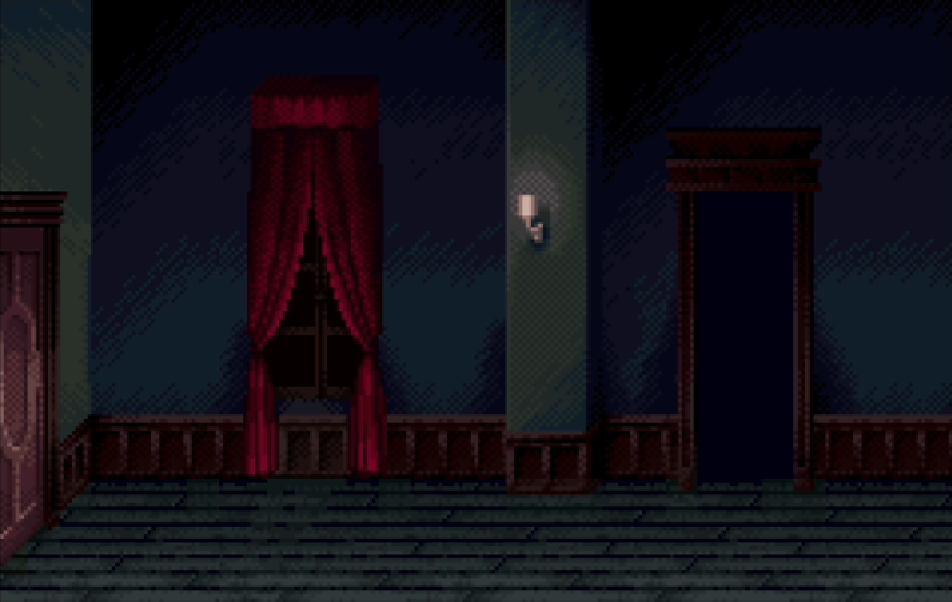
Cradle
|
| Hiding Places |
Weapons |
| None |
None |
| |
| Scissorman Hiding Places |
Items |
| None |
None |
| |
| Things to do |
|
See what lurks behind the curtain
|
Den
|
| Hiding Places |
Weapons |
| Behind the curtain. Sometimes you can wait out the Scissorman, sometimes Jennifer will emerge on her own as soon as he walks past. If the latter happens, you'll still have plenty of time to run out of the room. |
None |
| |
| Scissorman Hiding Places |
Items |
| None |
West Building Key (random) |
| |
| Things to do |
Find the key in the box (random)
Turn on the TV
|
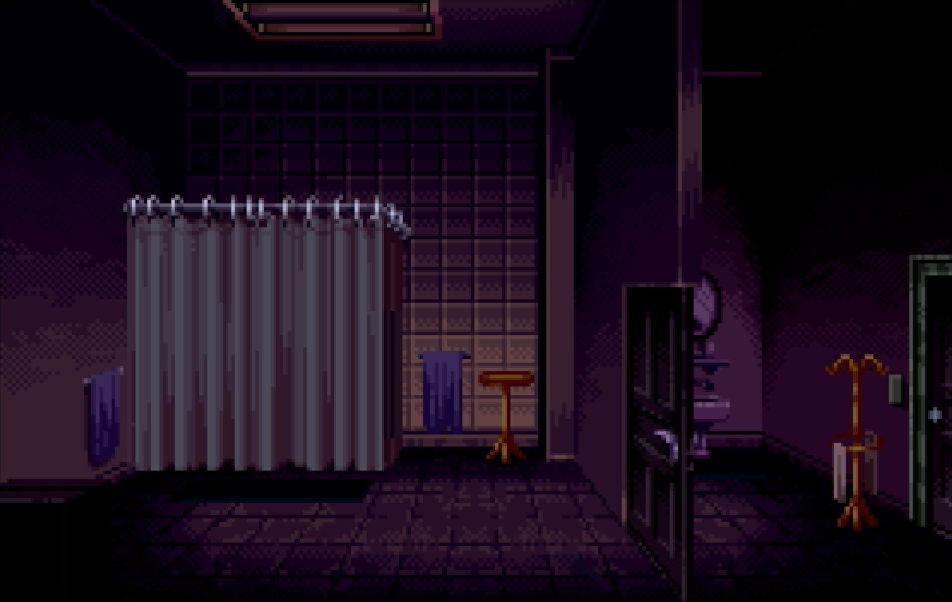
East Bathroom
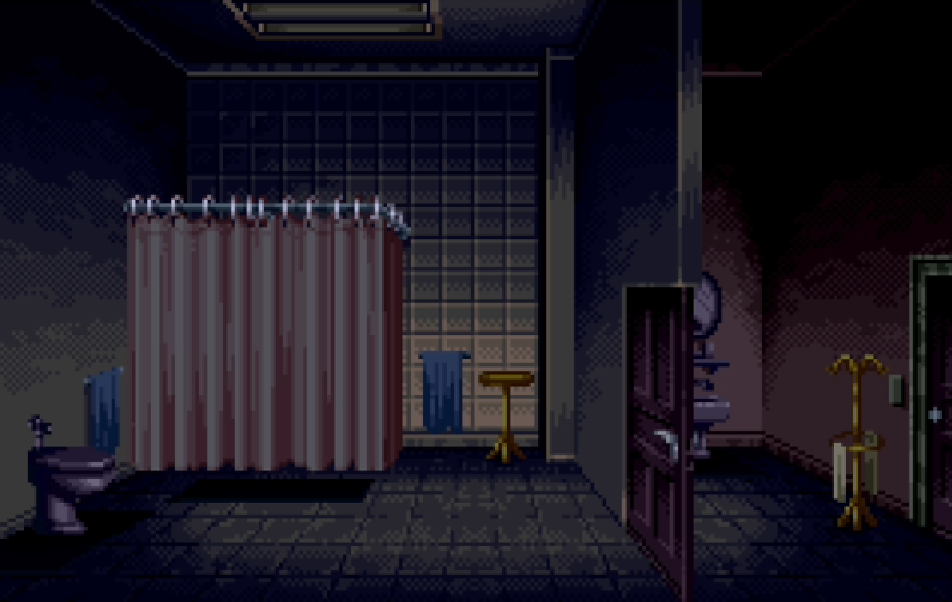
|
| Hiding Places |
Weapons |
Enter the tub area and Jennifer will lock the partition door behind her
Chance of success: random |
None |
| |
| Scissorman Hiding Places |
Items |
| The bathtub, if you haven't seen anyone die yet |
None |
| |
| Things to do |
|
Wash your hands in the sink
|
East Bedroom
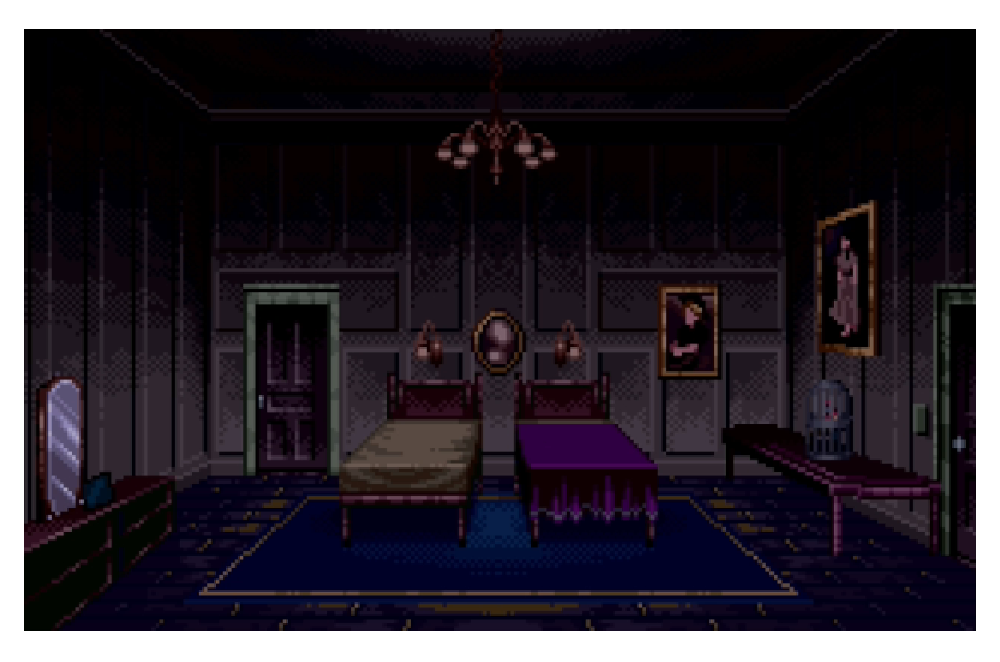
|
| Hiding Places |
Weapons |
Under the left bed
Chance of success: 0% if the parrot is loose, 100% if parrot has been trapped |
None |
| |
| Scissorman Hiding Places |
Items |
| None |
Perfume |
| |
| Things to do |
Examine the mirror (three random results)
Examine the picture on the vanity
Get the perfume from the vanity
Release the parrot from the cage
Click on the right-hand bed to trap the loose parrot
|
East Hallway 1F
|
| Hiding Places |
Weapons |
| None |
None |
| |
| Scissorman Hiding Places |
Items |
| None |
None |
| |
| Things to do |
|
Nothing
|
East Hallway 2F
|
| Hiding Places |
Weapons |
| None |
None |
| |
| Scissorman Hiding Places |
Items |
| None |
None |
| |
| Things to do |
|
Nothing
|
East Hallway 3F
|
| Hiding Places |
Weapons |
| None |
None |
| |
| Scissorman Hiding Places |
Items |
| None |
None |
| |
| Things to do |
|
Nothing. Just run.
|
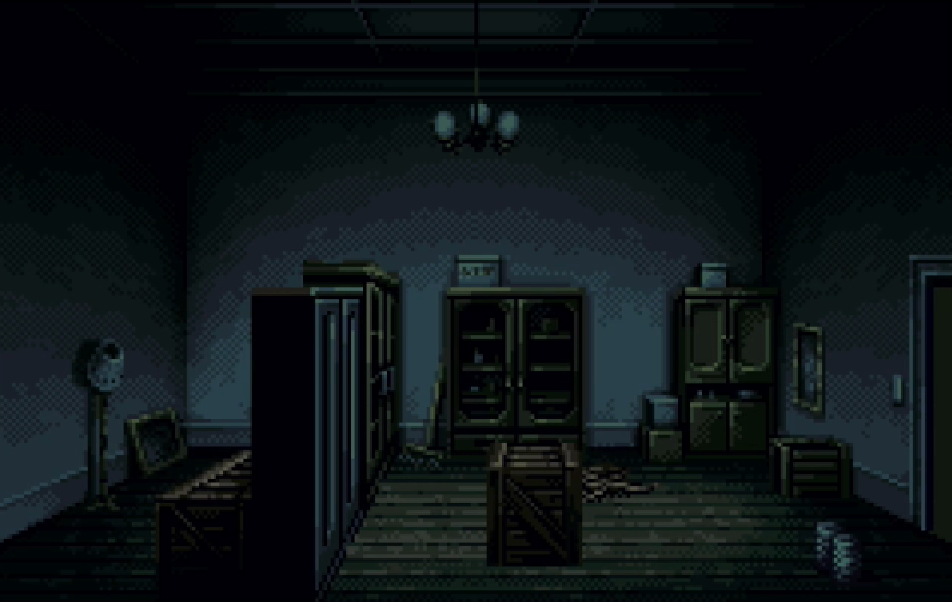
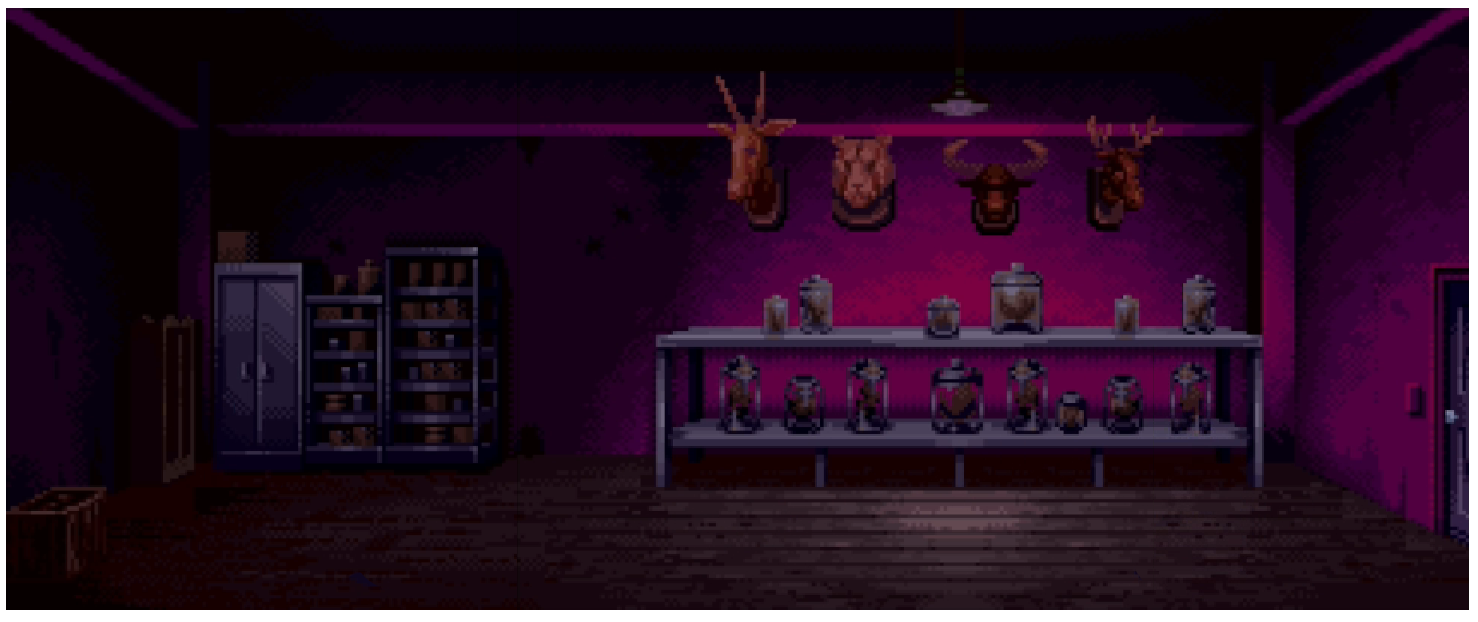
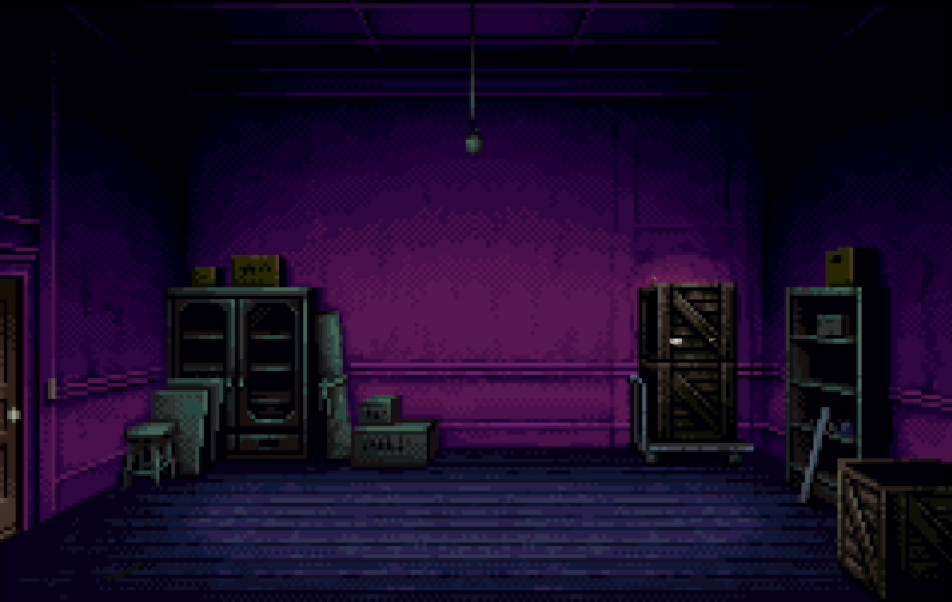
East Storage Room
|
| Hiding Places |
Weapons |
| Behind the cabinets on the left, when in Adreneline Mode Jennifer can clamber over without the crate being moved next to next to it. |
Jennifer can bonk Scissorman in the face with one of the Pesticide canisters. |
| |
| Scissorman Hiding Places |
Items |
| None |
Black Robe (location 1 of 2)
Rope
Pesticide |
| |
| Things to do |
|
Collect the items
|
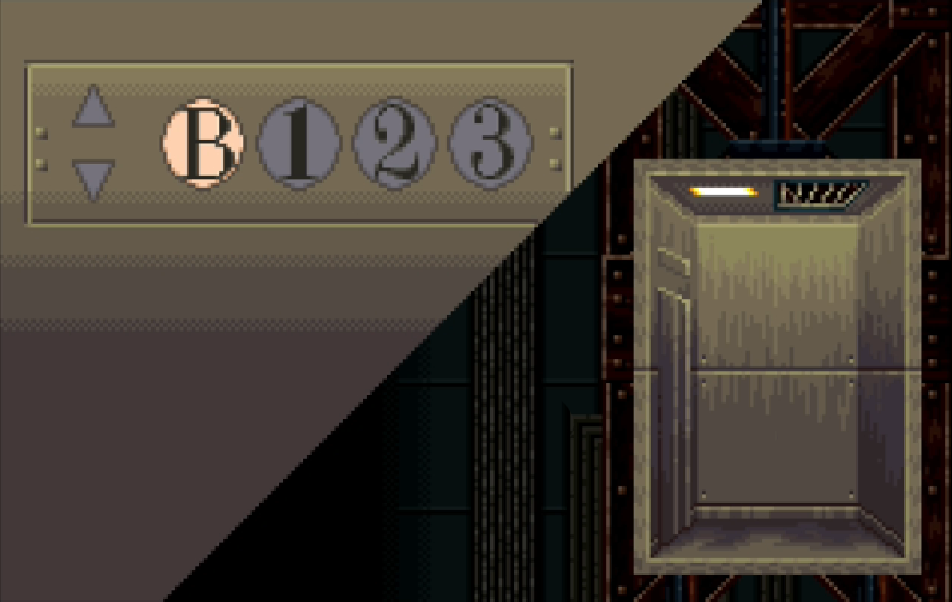
Elevator
|
| Hiding Places |
Weapons |
| None |
None |
| |
| Scissorman Hiding Places |
Items |
| None |
None |
| |
| Things to do |
|
Choose a floor to travel to.
|
Entryway
|
| Hiding Places |
Weapons |
| None |
None |
| |
| Scissorman Hiding Places |
Items |
| None |
None |
| |
| Things to do |
|
Explore the upper level and inspect the floor craftsmanship
|
Garage
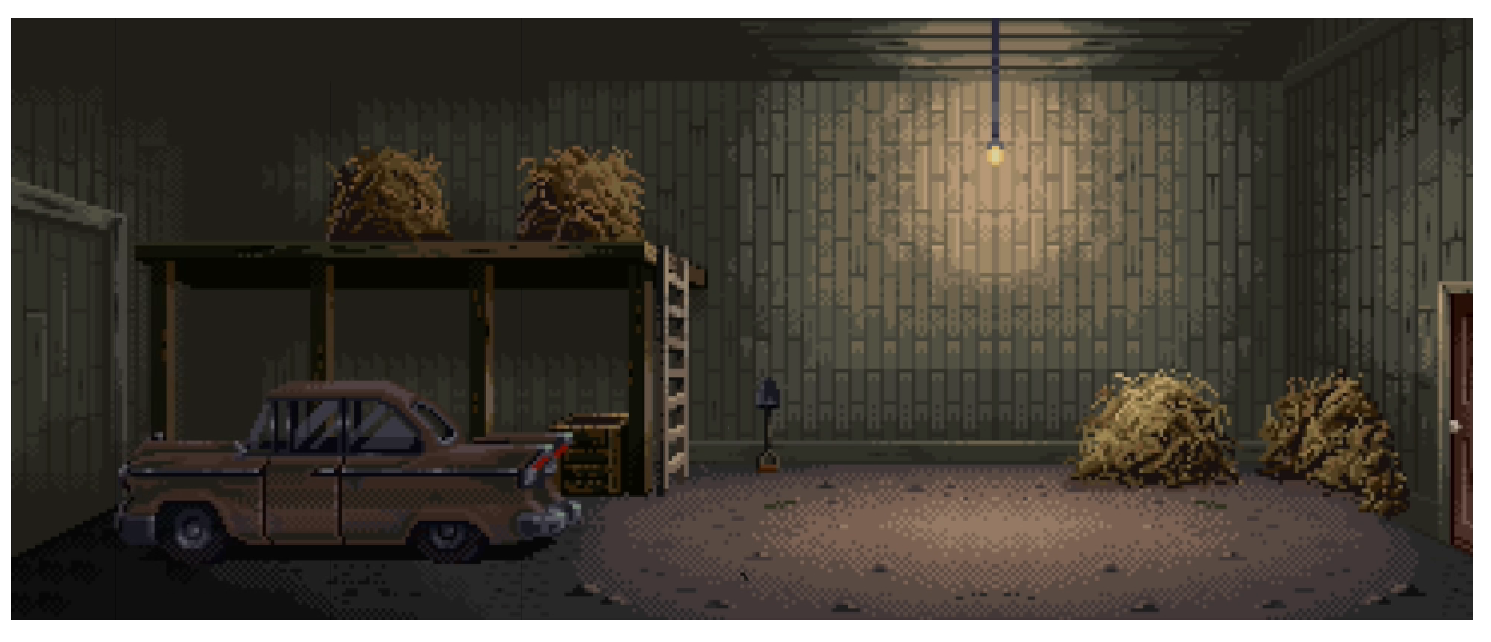
|
| Hiding Places |
Weapons |
On top of the hay loft (Random chance of success)
Inside the car |
Shovel near the ladder |
| |
| Scissorman Hiding Places |
Items |
| None |
Car Key |
| |
| Things to do |
|
Use the car to escape
|
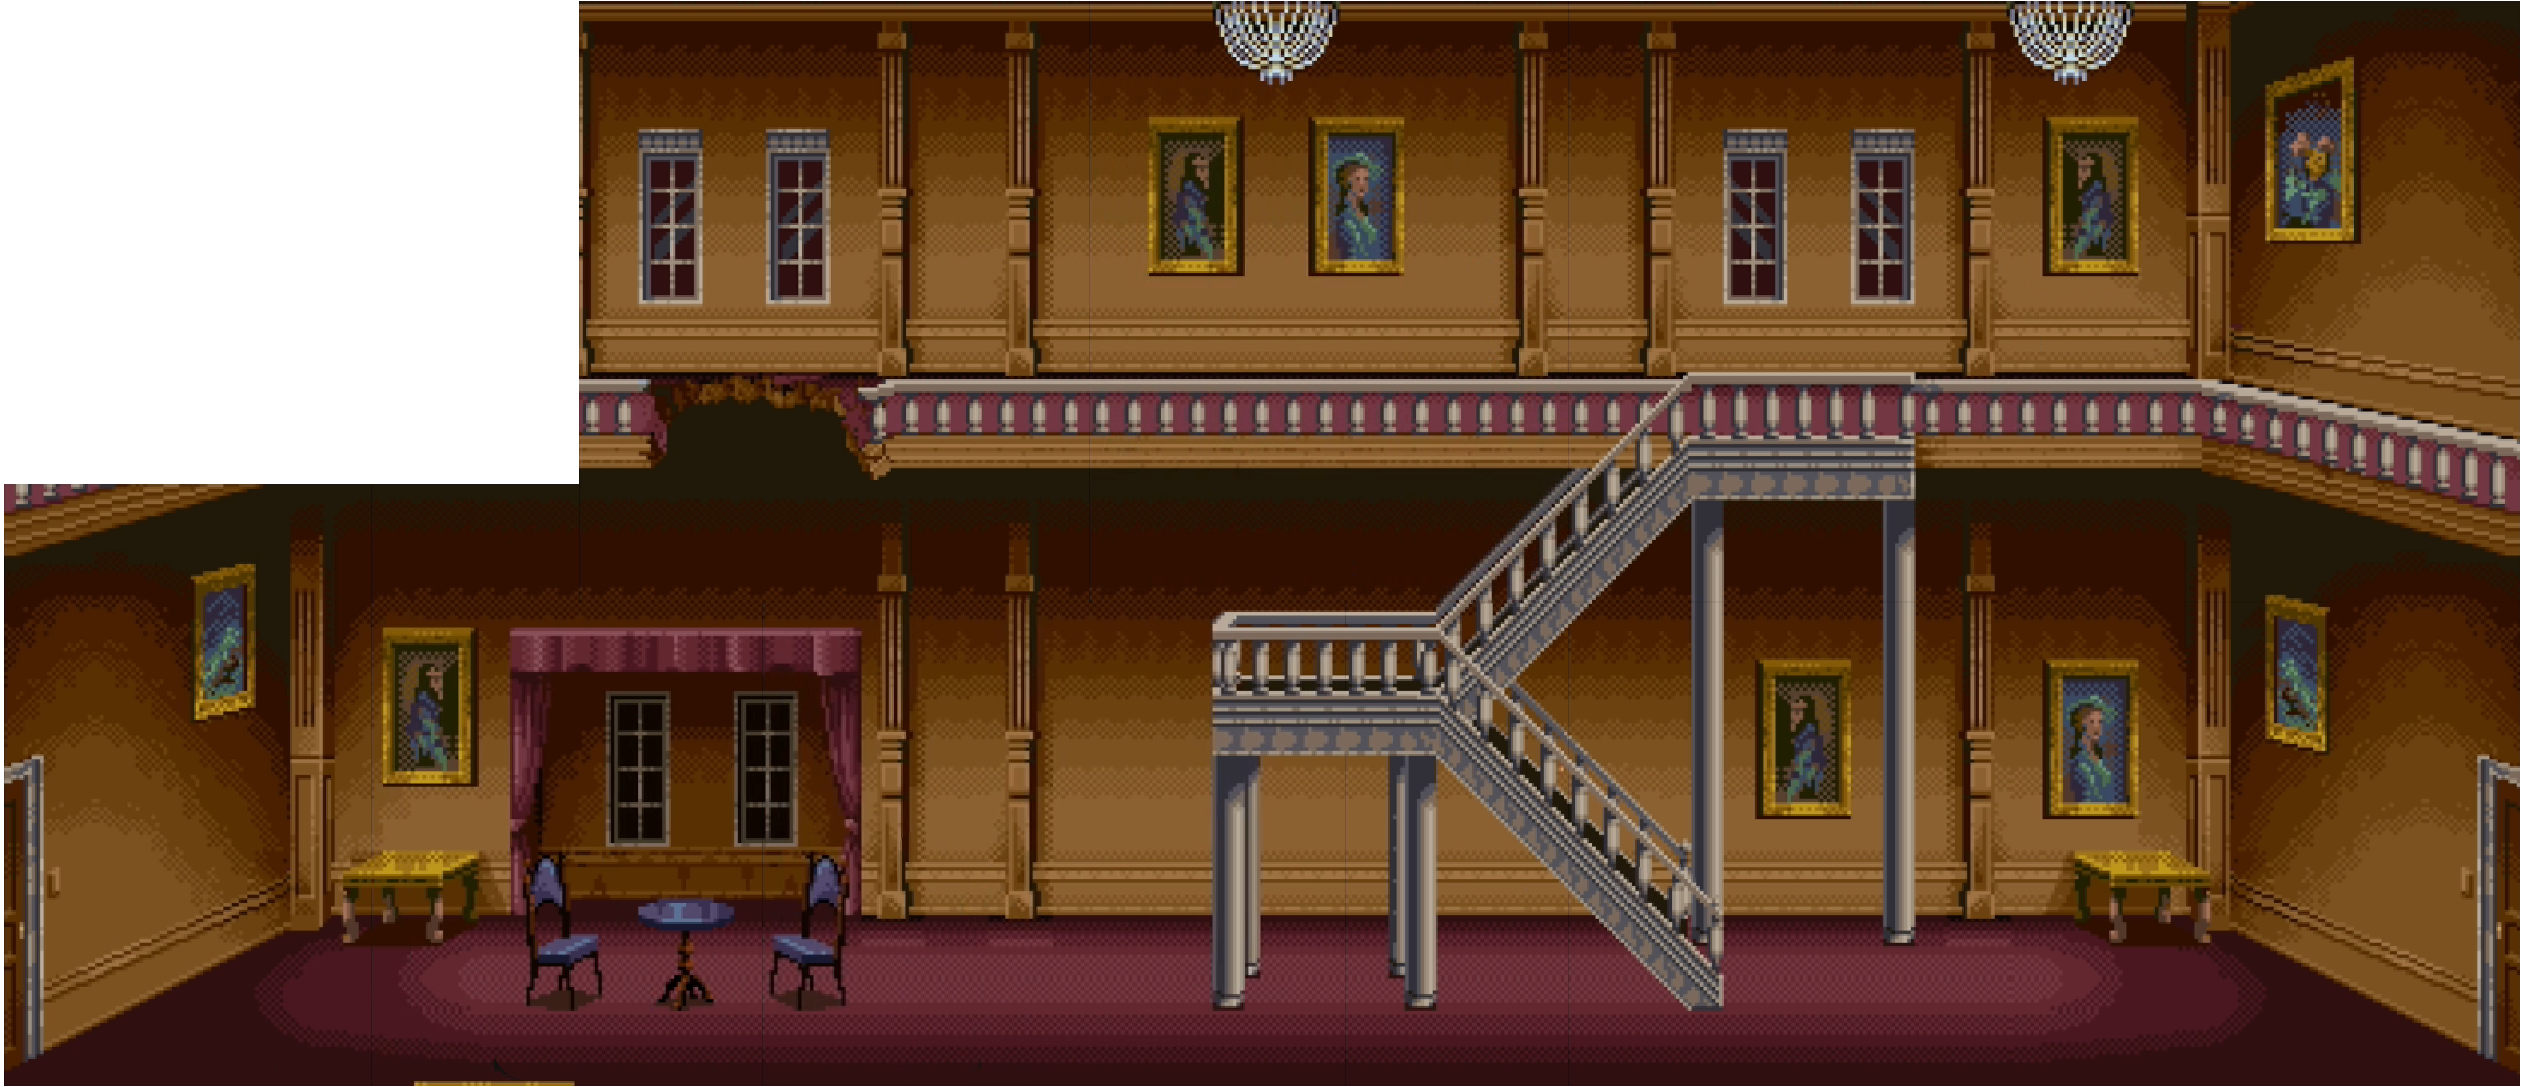
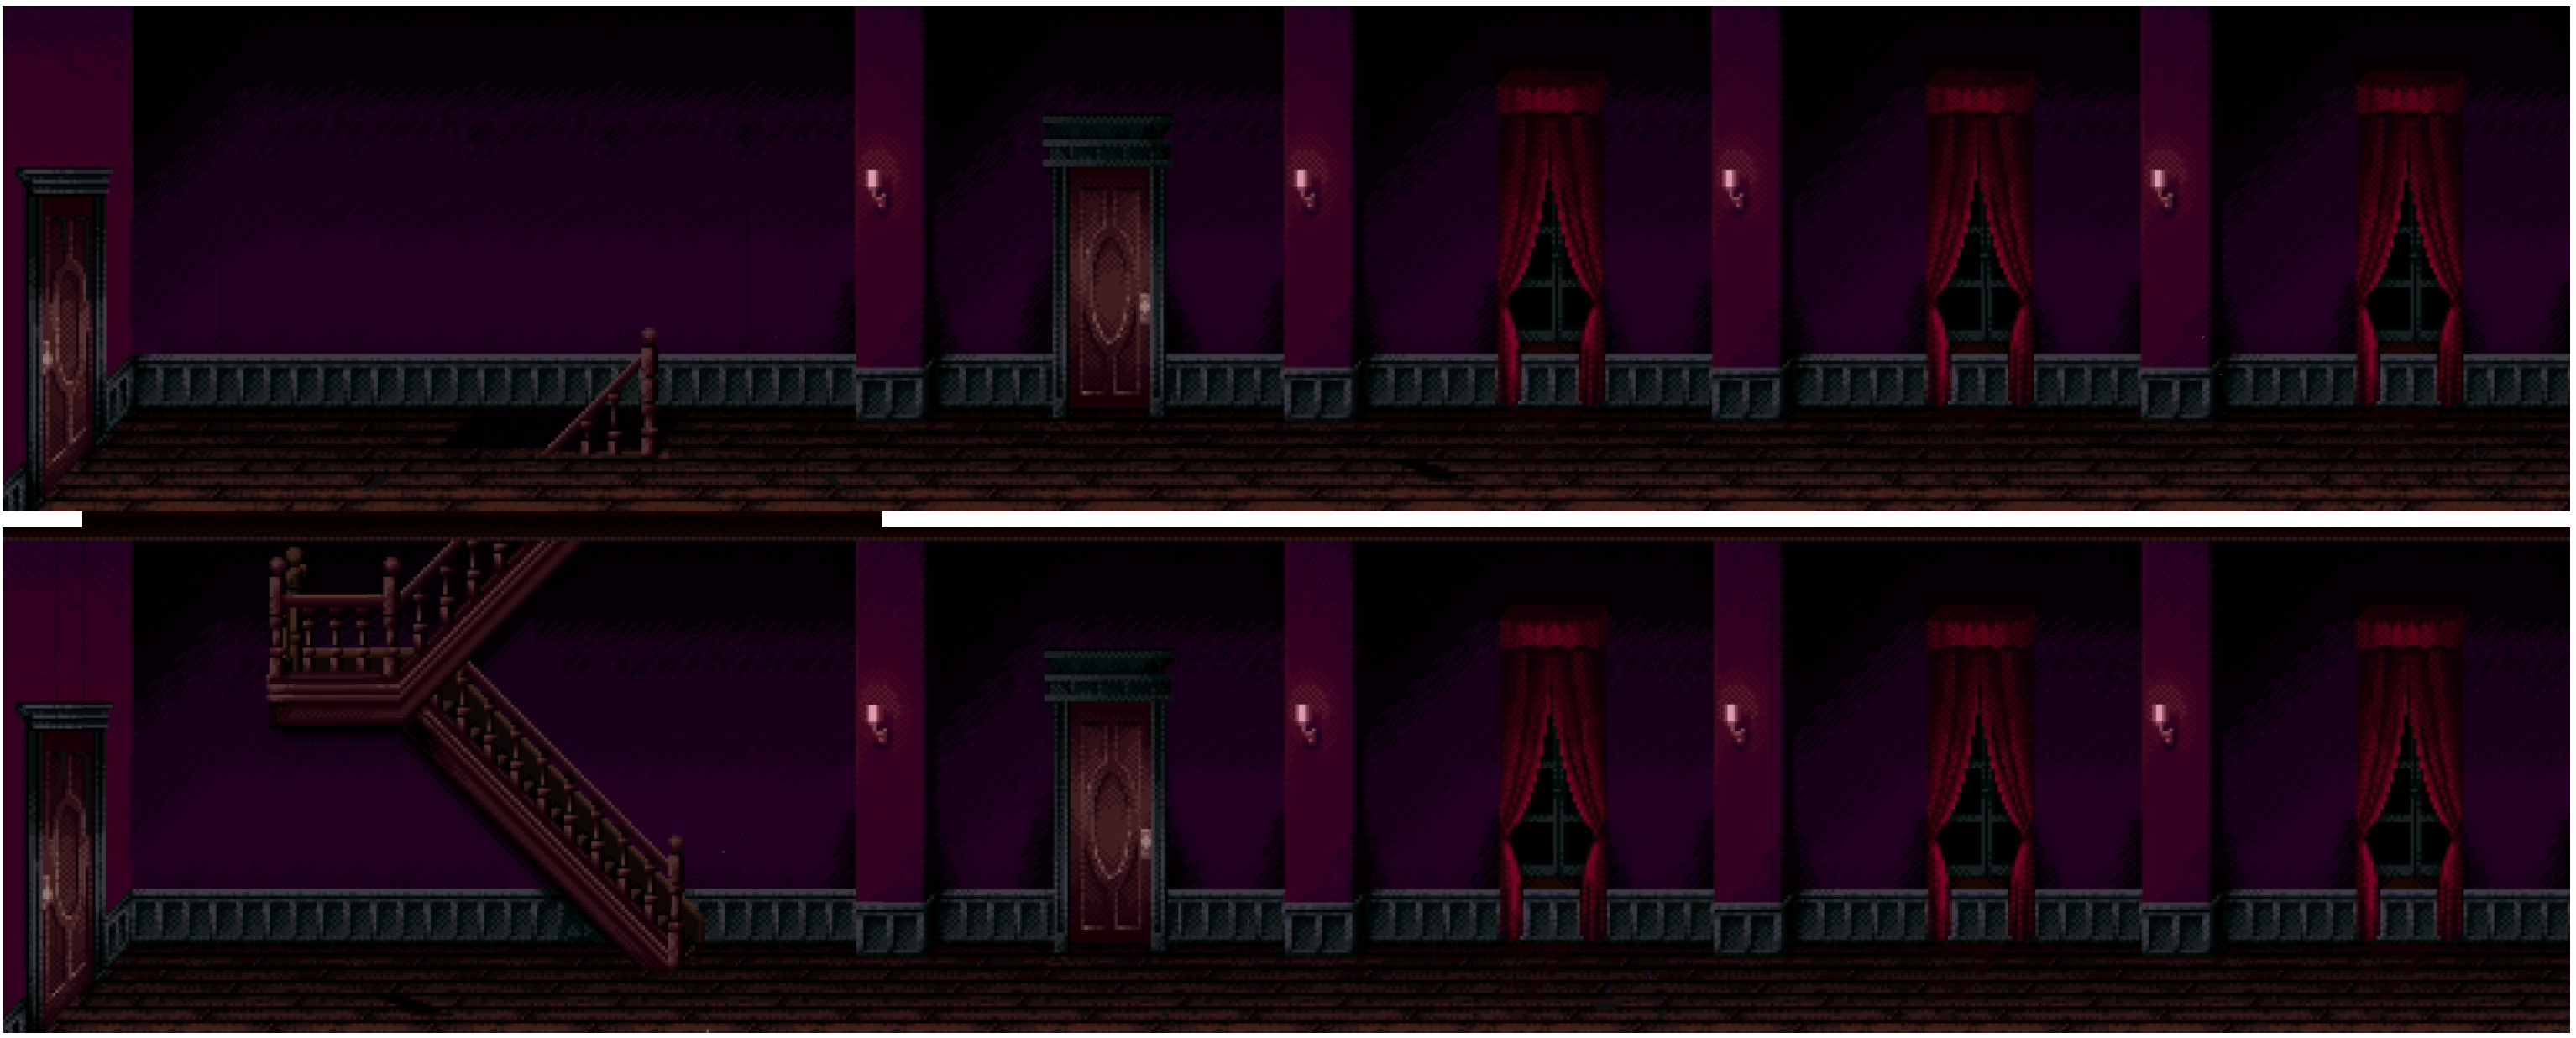
Grand Staircase
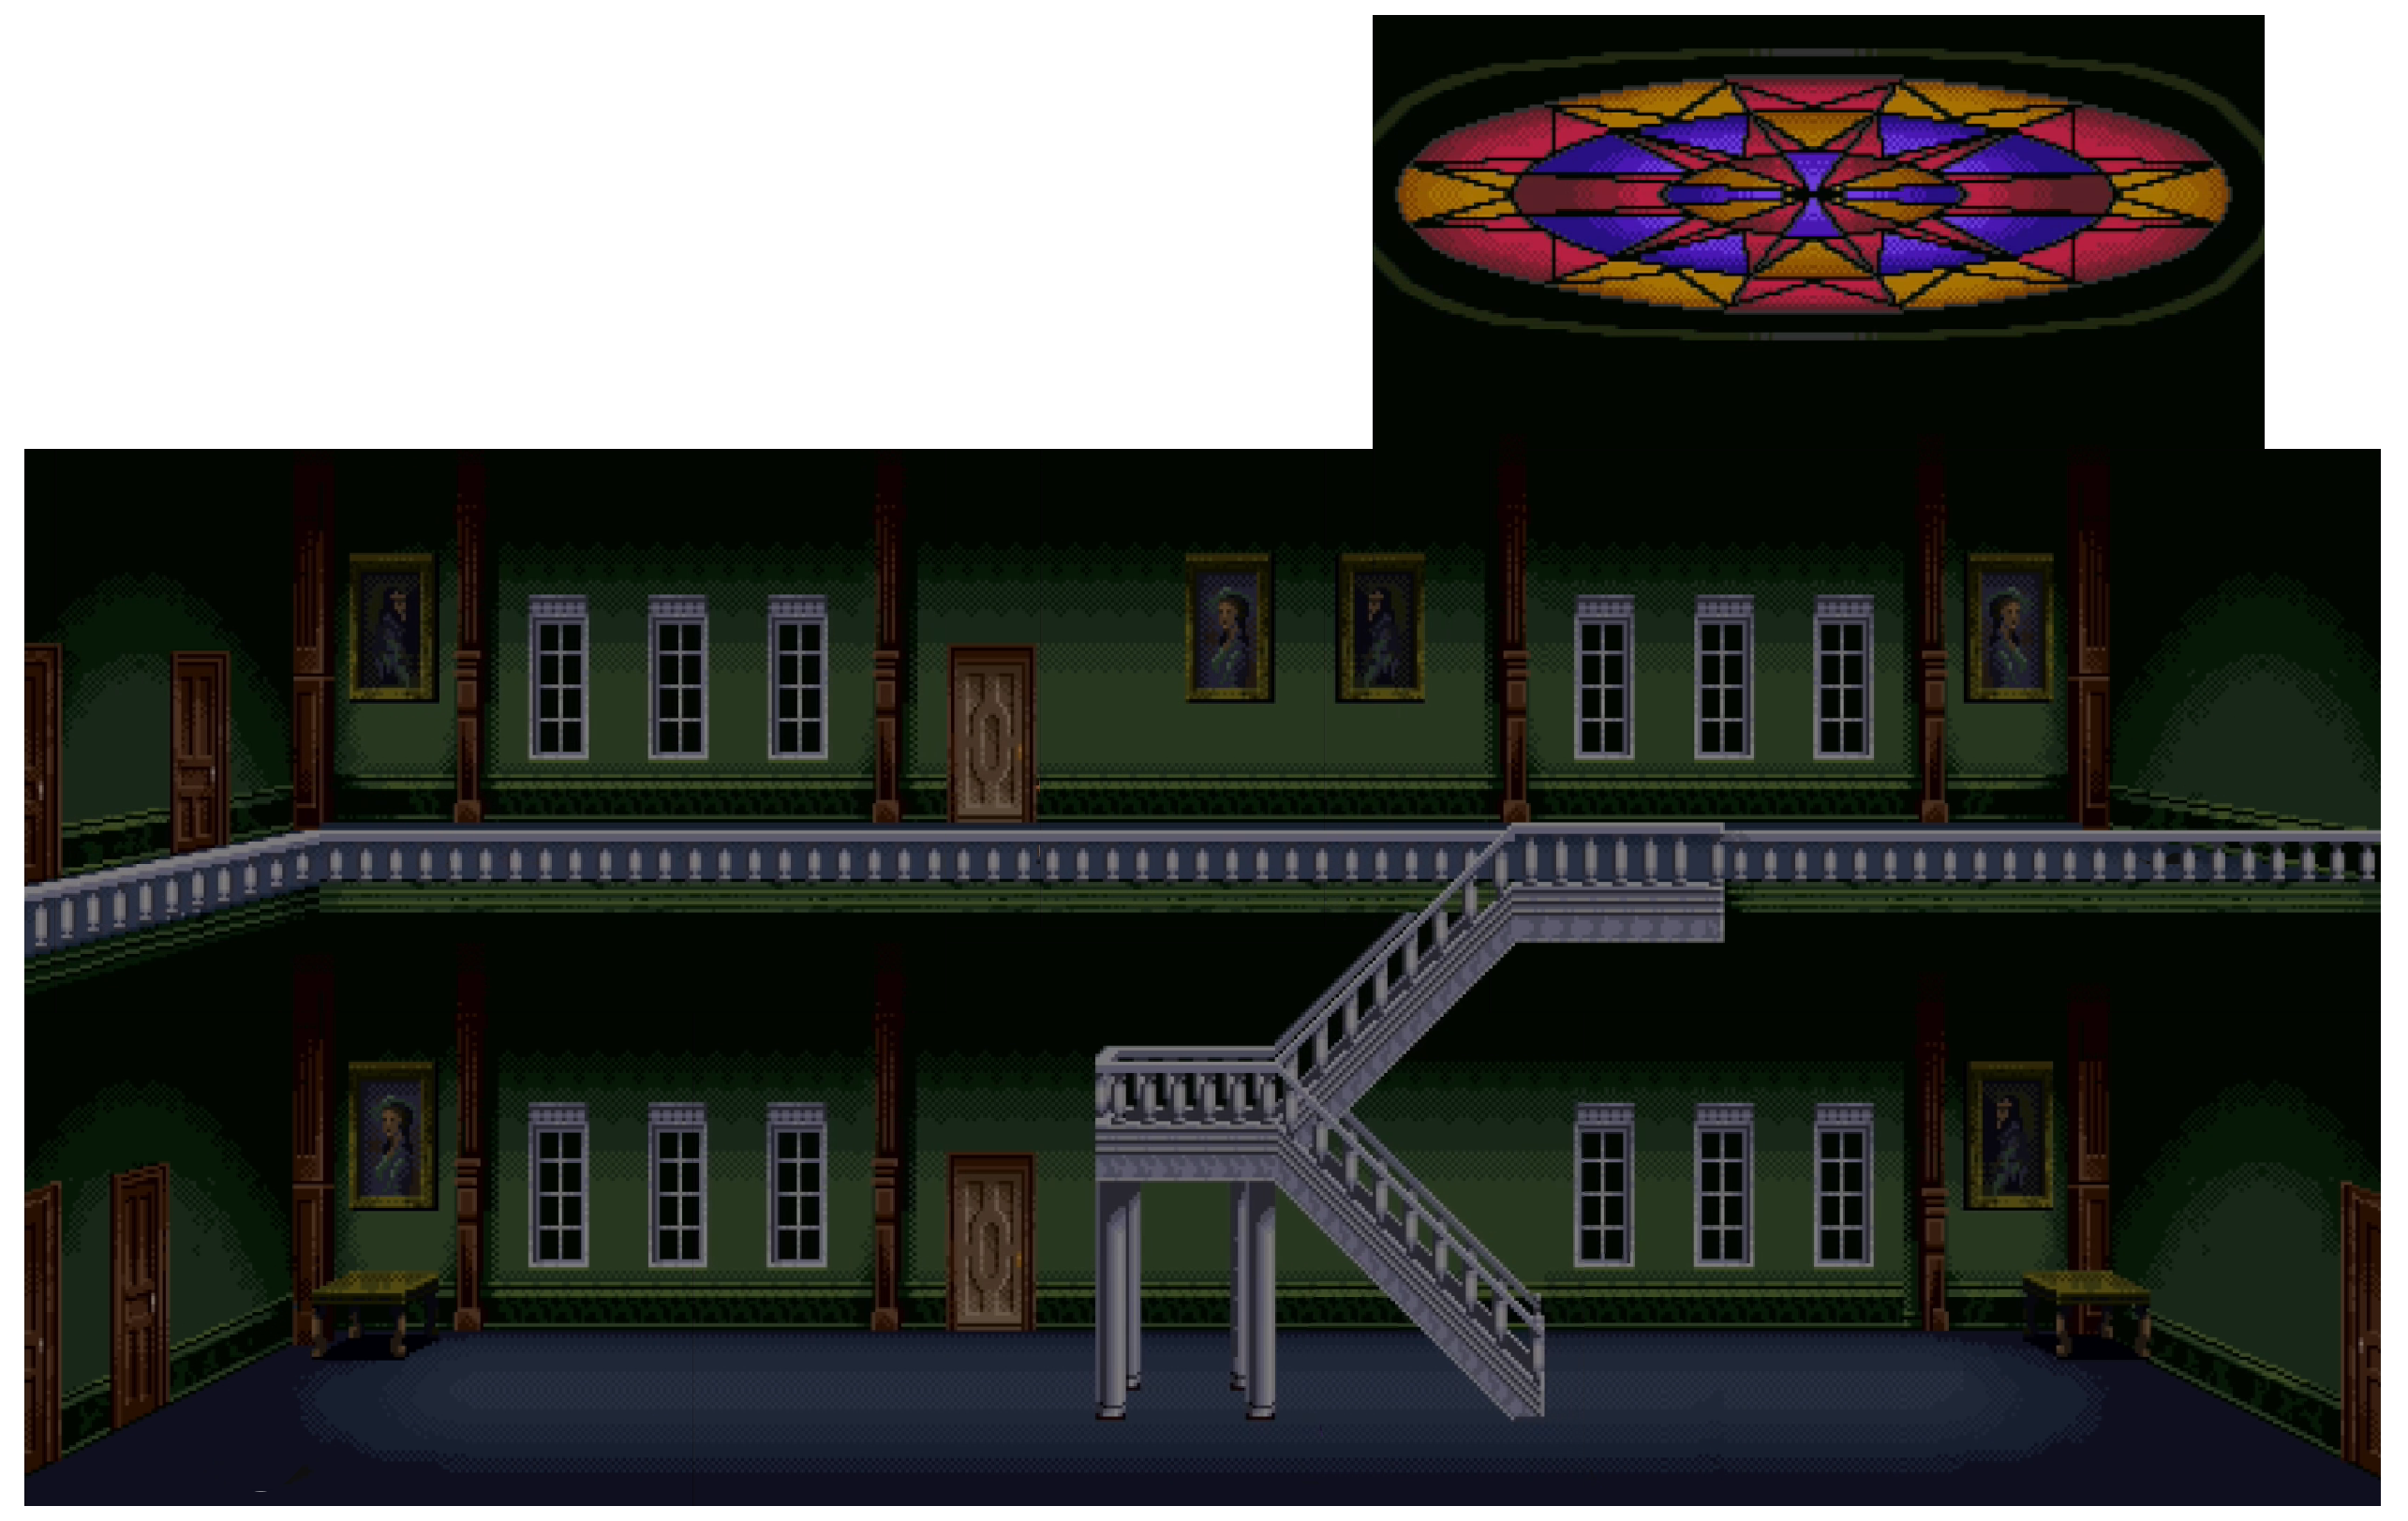
|
| Hiding Places |
Weapons |
| None |
None |
| |
| Scissorman Hiding Places |
Items |
| Above the skylight, if no one has died yet. |
None |
| |
| Things to do |
|
Nothing, other than entering rooms.
|
Hidden Room
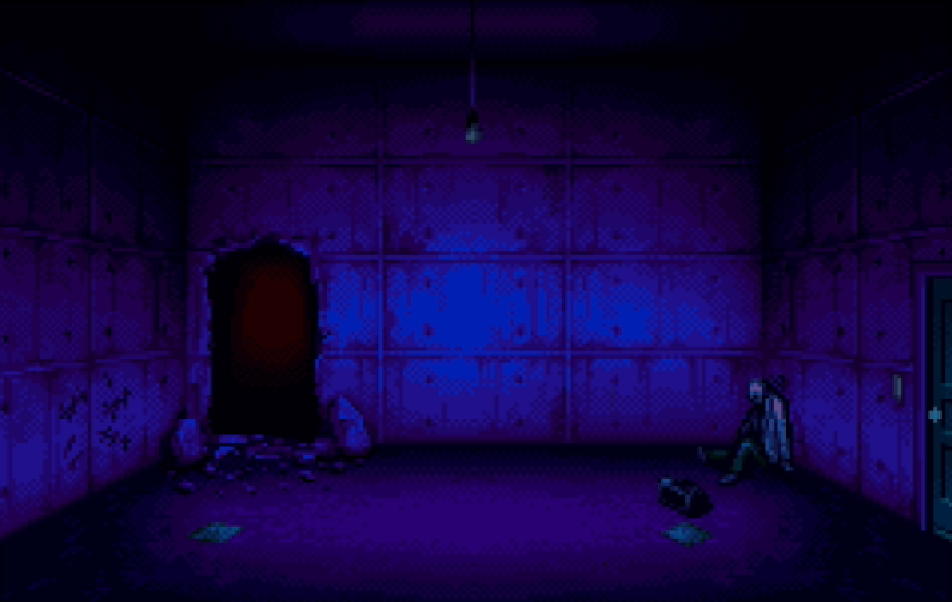
|
| Hiding Places |
Weapons |
| None |
None |
| |
| Scissorman Hiding Places |
Items |
| None |
None |
| |
| Things to do |
Examine papers on floor
Examine black bag on floor
Examine corpse
|
Kitchen
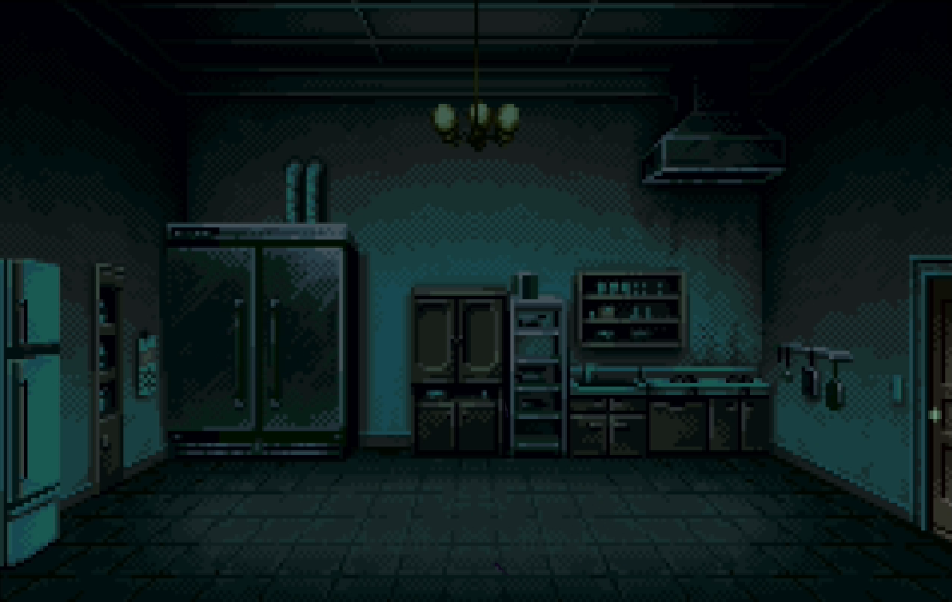
|
| Hiding Places |
Weapons |
| None |
None |
| |
| Scissorman Hiding Places |
Items |
| None |
Ham
Gold Key |
| |
| Things to do |
Use the Pesticide on the meat locker
Take a drink from the shelves beside the fridge (2 random results)
|
Kitchen Hallway
|
| Hiding Places |
Weapons |
| None |
None |
| |
| Scissorman Hiding Places |
Items |
| None |
None |
| |
| Things to do |
|
Nothing
|
Library

|
| Hiding Places |
Weapons |
| None |
Second bookcase from the door |
| |
| Scissorman Hiding Places |
Items |
| Inside the large crack |
Copper Key |
| |
| Things to do |
Use the Lantern on the large crack
Examine the third bookcase from the door for a clue to find the Statue (1 of 2 locations)
|
Mannequin Room
|
| Hiding Places |
Weapons |
| None |
None |
| |
| Scissorman Hiding Places |
Items |
| Behind one of the mannequins you can examine |
none |
| |
| Things to do |
|
Nothing
|
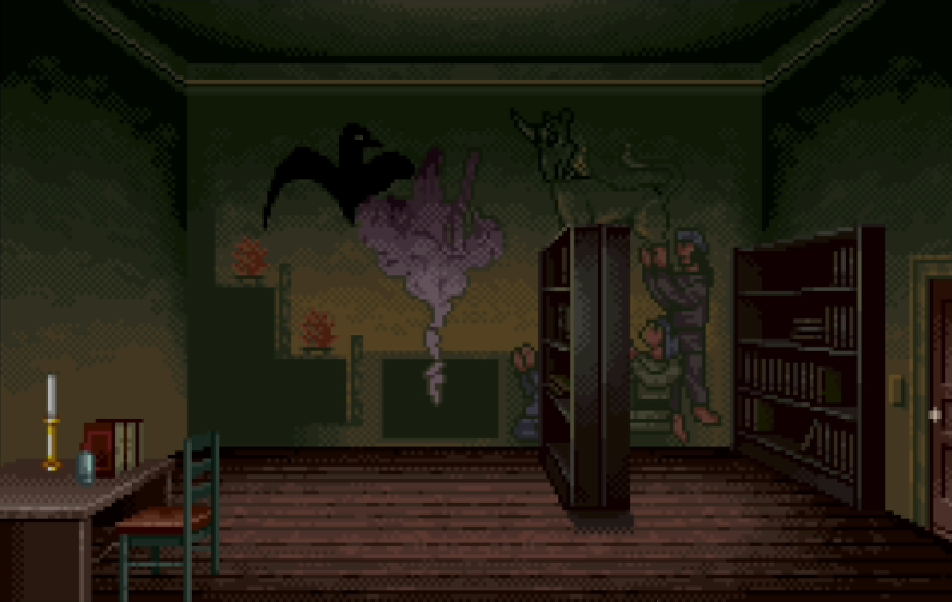
Mural Room
|
| Hiding Places |
Weapons |
| None |
None |
| |
| Scissorman Hiding Places |
Items |
| None |
None |
| |
| Things to do |
Examine the mural
Examine the mural after knocking over bookcase (random)
Examine the books on the desk
Examine the bottom right corner of the right-hand bookcase (random)
|
North Hallway
|
| Hiding Places |
Weapons |
| None |
None |
| |
| Scissorman Hiding Places |
Items |
| None |
None |
| |
| Things to do |
|
Nothing
|
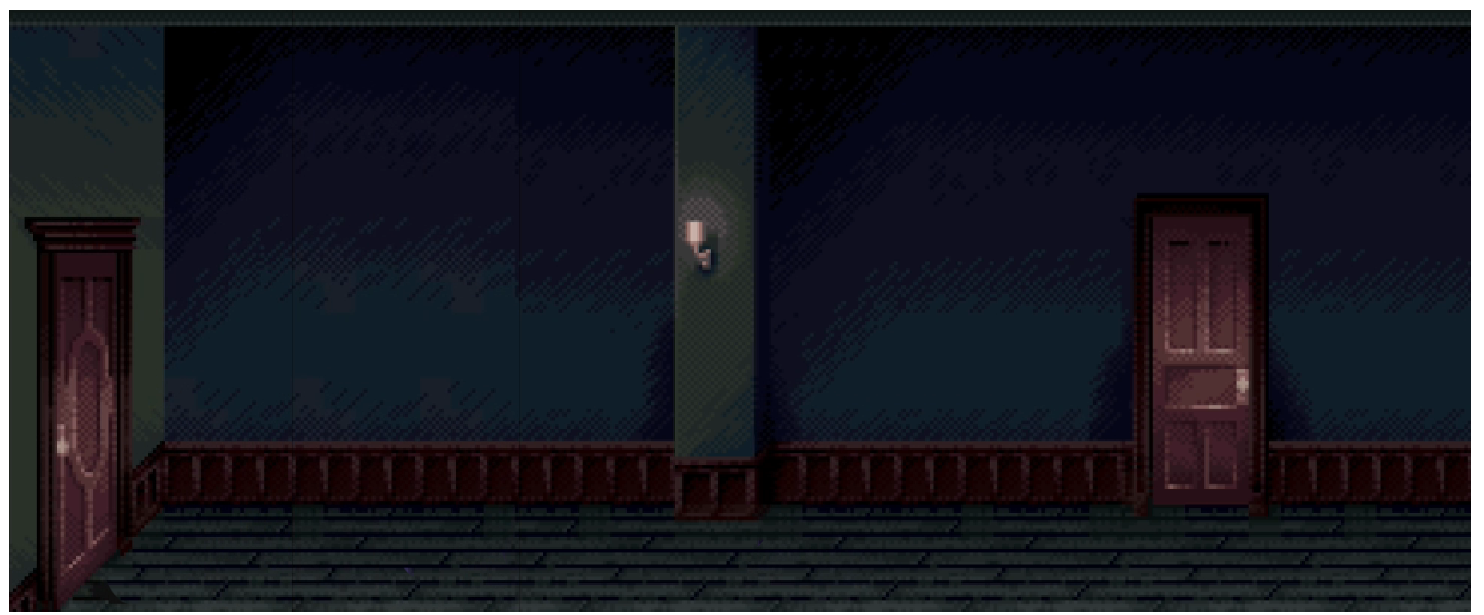
North Hall (1f, East)
|
| Hiding Places |
Weapons |
| Once you use the stone to widen the crack, you can escape Scissorman by crawling through it |
None |
| |
| Scissorman Hiding Places |
Items |
| None |
Sharp-Edged Stone |
| |
| Things to do |
|
Use the Sharp-Edged Stone to widen the crack in the wall.
|
Nursery
|
| Hiding Places |
Weapons |
| None |
None |
| |
| Scissorman Hiding Places |
Items |
| None |
Ritual Key |
| |
| Things to do |
Fend off the possessed doll
Fend off the possessed clown doll (Rewind Mode, random)
|
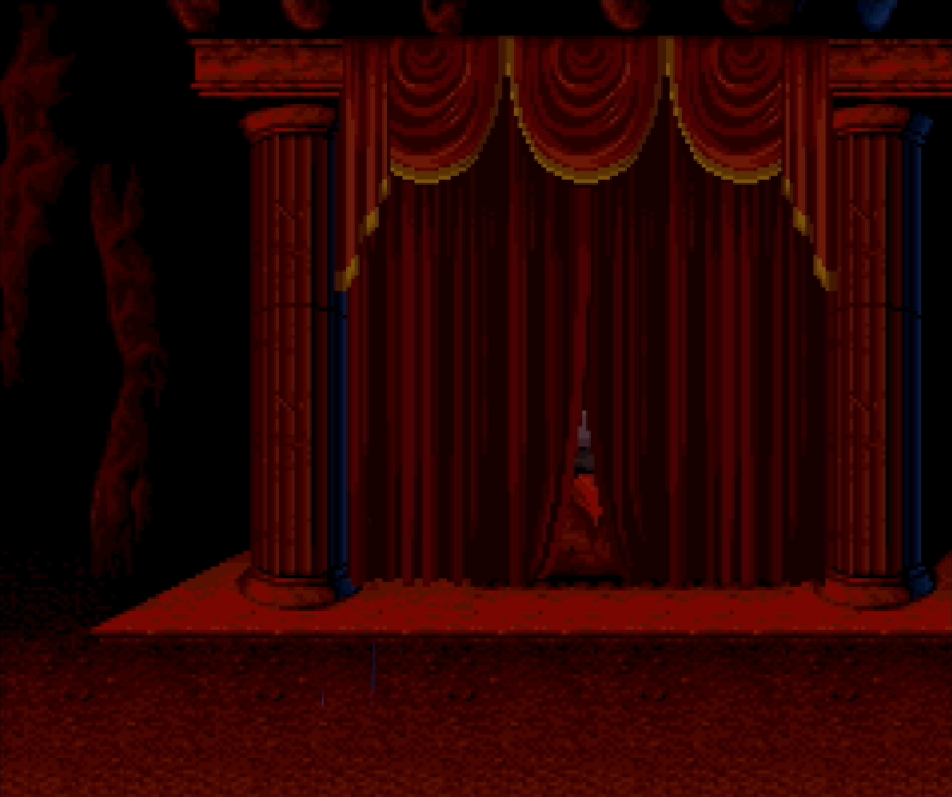
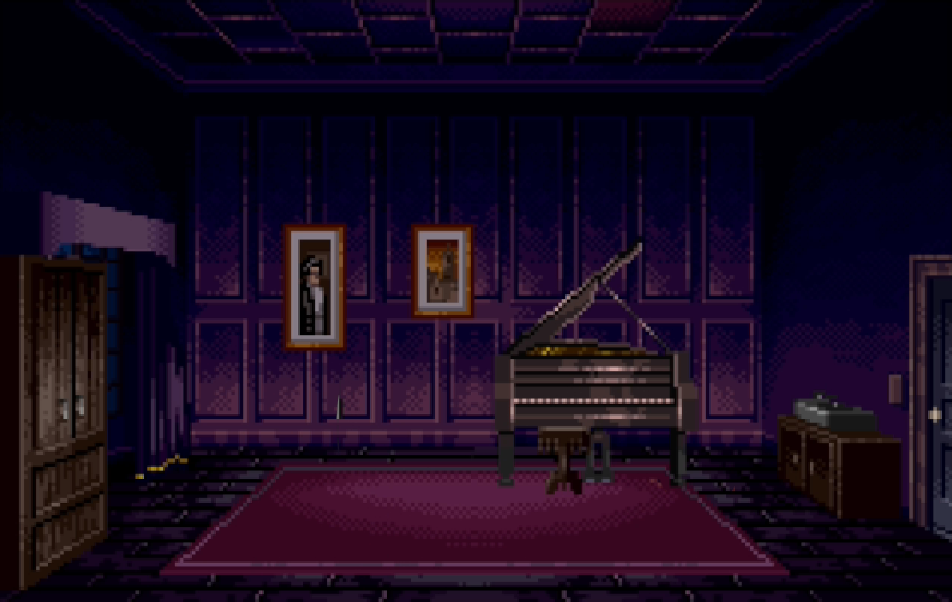
Piano Room
|
| Hiding Places |
Weapons |
| None |
None |
| |
| Scissorman Hiding Places |
Items |
Behind Curtain
Above piano |
Cane (random) |
| |
| Things to do |
Get the Cane if it's there
Play the piano
|
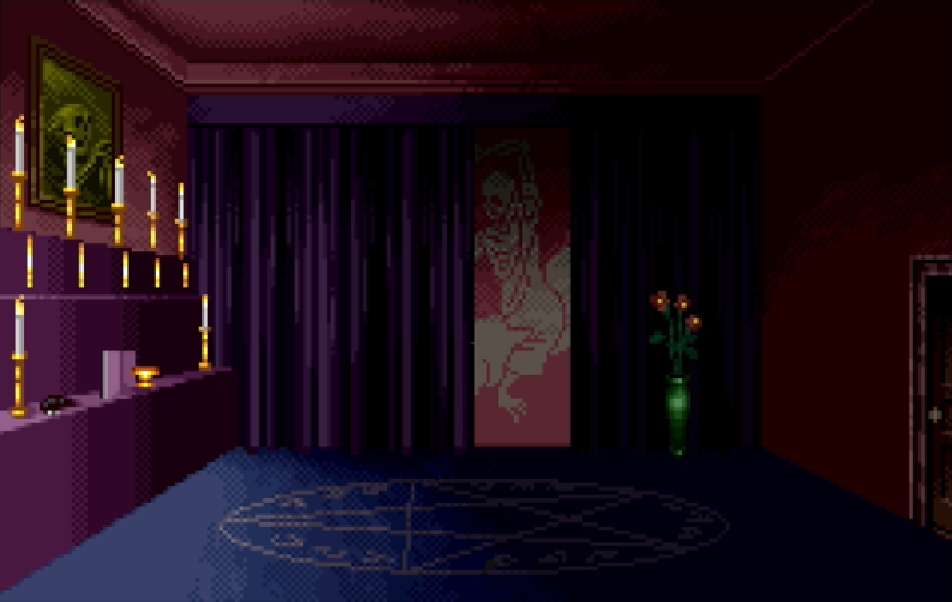
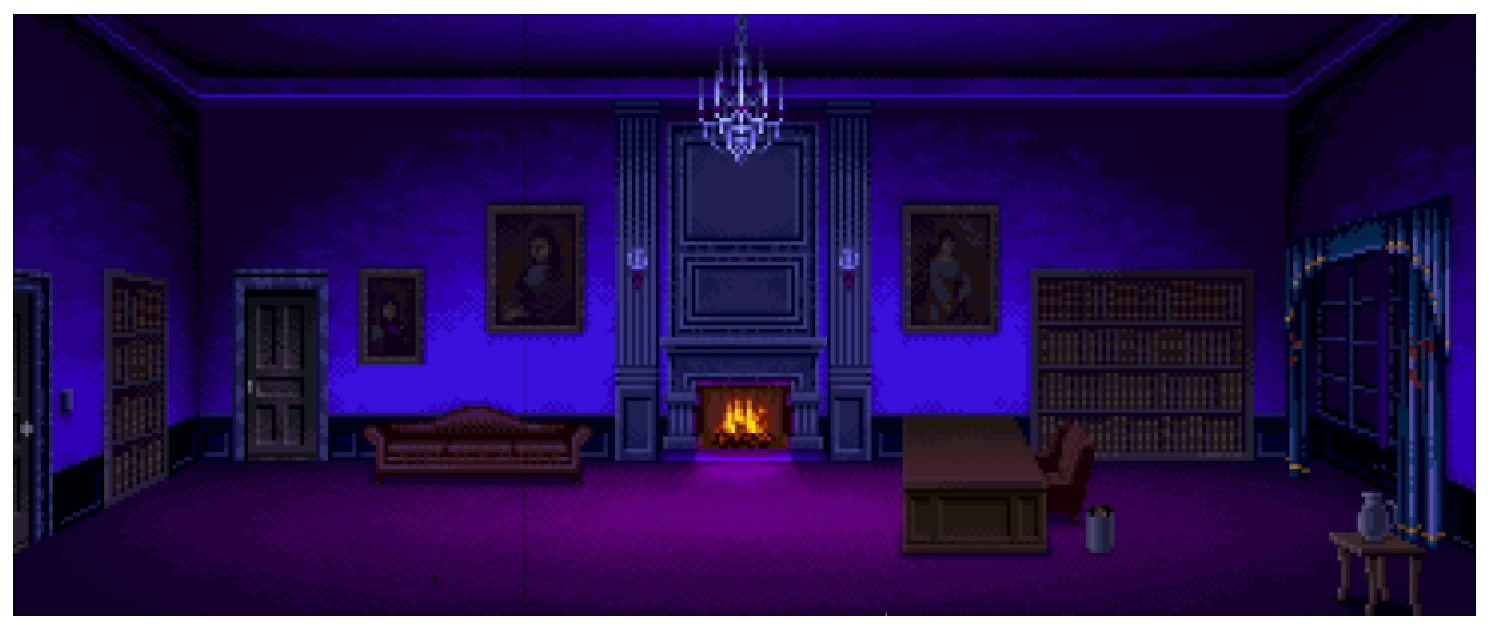
Ritual Room
|
| Hiding Places |
Weapons |
| None |
None |
| |
| Scissorman Hiding Places |
Items |
| None |
None |
| |
| Things to do |
Examine various cult paraphernalia
Use Statue on stand (random)
Use Cane in large vase (random, must examine mural after knocking over bookcase)
|
Shed
|
| Hiding Places |
Weapons |
| Crate (only works on Scissorman, Mary cannot be fooled) |
Plank by door (Mary only) |
| |
| Scissorman Hiding Places |
Items |
| None |
None |
| |
| Things to do |
Feed Ham to prisoner
Wait for Lotte to free you
Unlock cell door with Copper Key
|
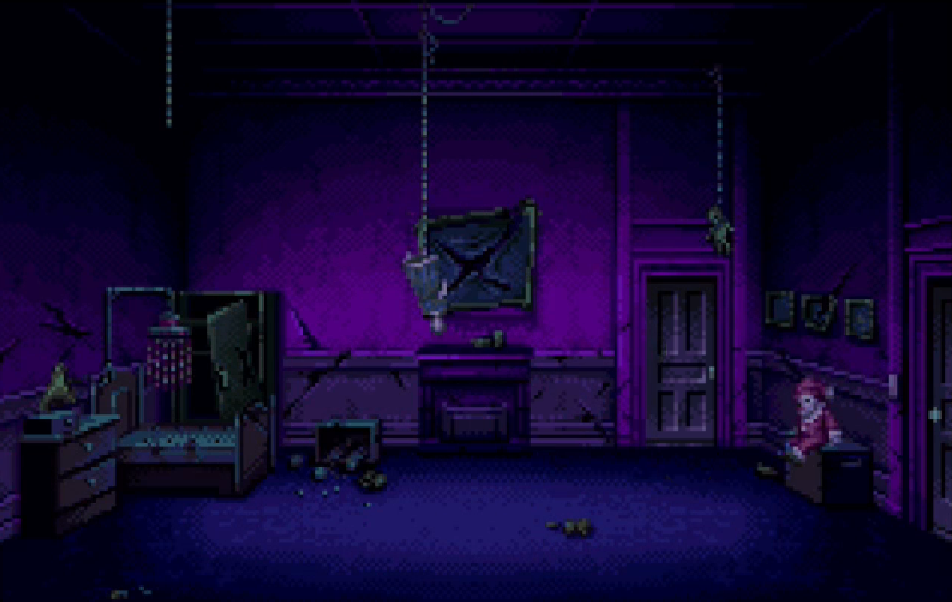
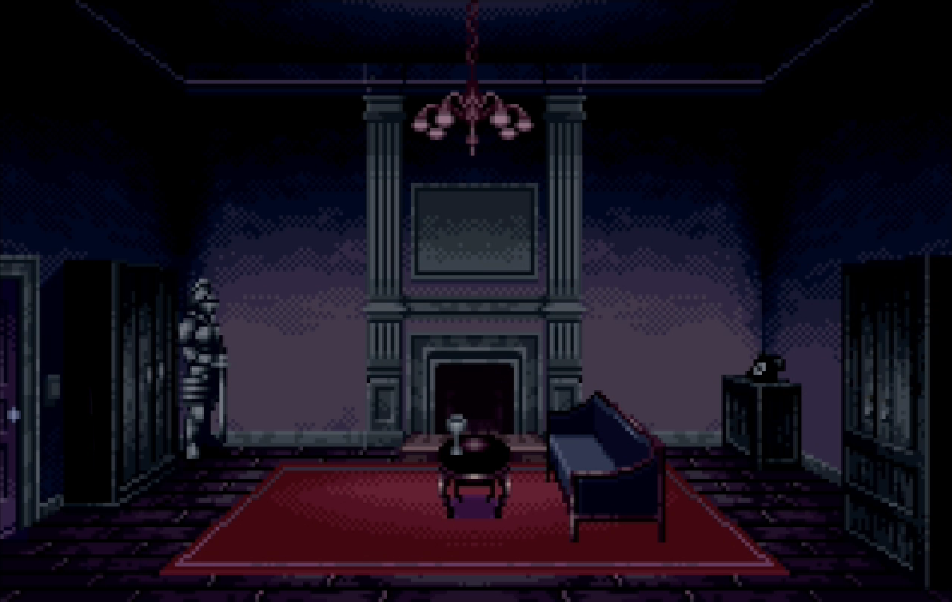
Sitting Room
|
| Hiding Places |
Weapons |
| Jennifer can hide in the wardrobe (Rewind Mode only). Chance of a Panic Mode event where Scissorman intuits your hiding spot, and if you success Jennifer will knock him back and you can run out of the room. |
None |
| |
| Scissorman Hiding Places |
Items |
| None |
Black Robe (1 of 2 locations)
Silver Key |
| |
| Things to do |
Attempt to answer the phone
Examine suit of armor
|
South Hallway 1F
|
| Hiding Places |
Weapons |
| None |
None |
| |
| Scissorman Hiding Places |
Items |
| None |
None |
| |
| Things to do |
|
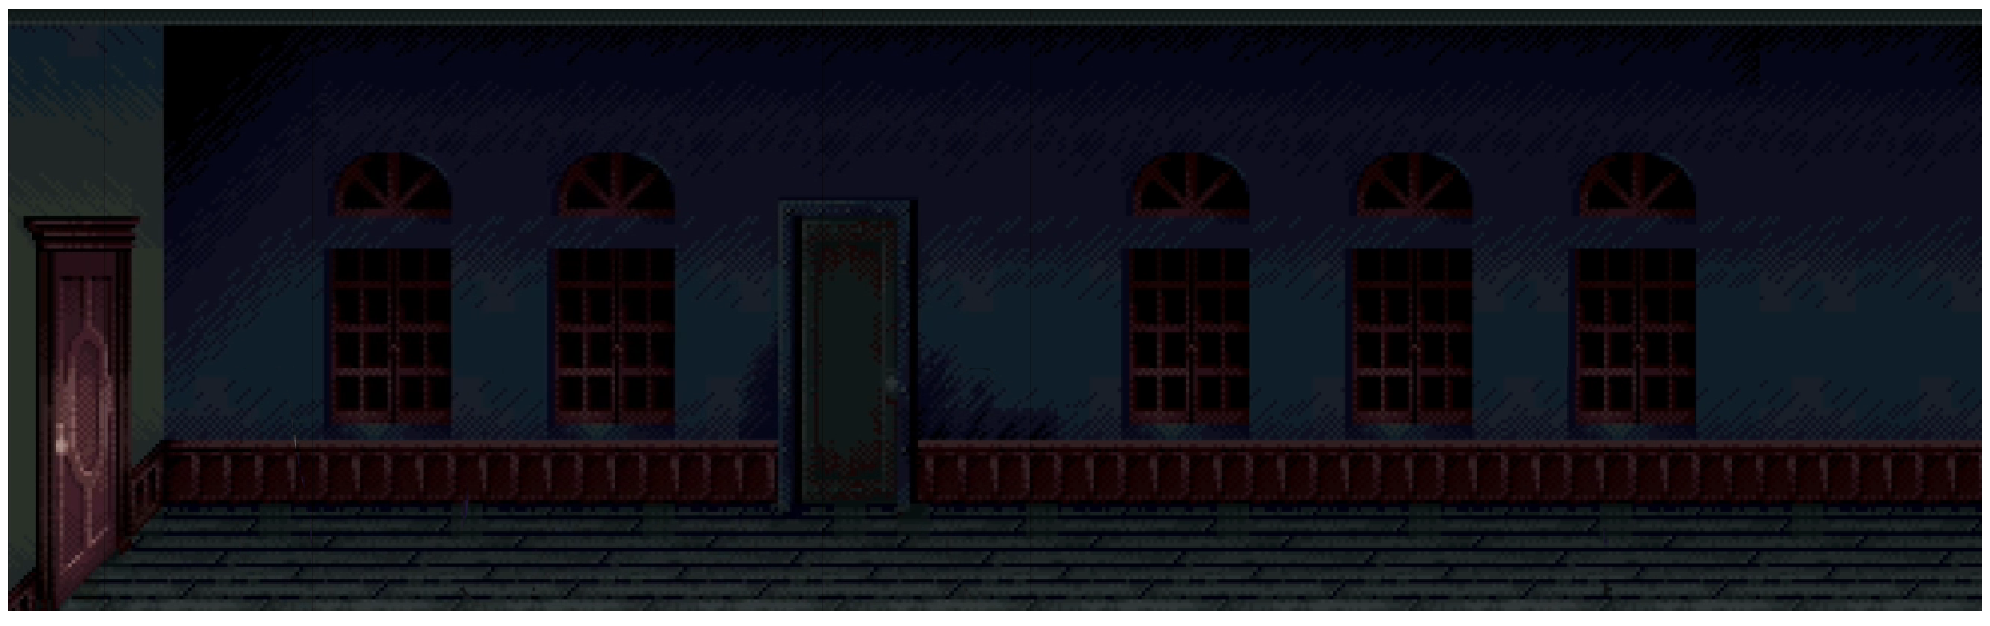
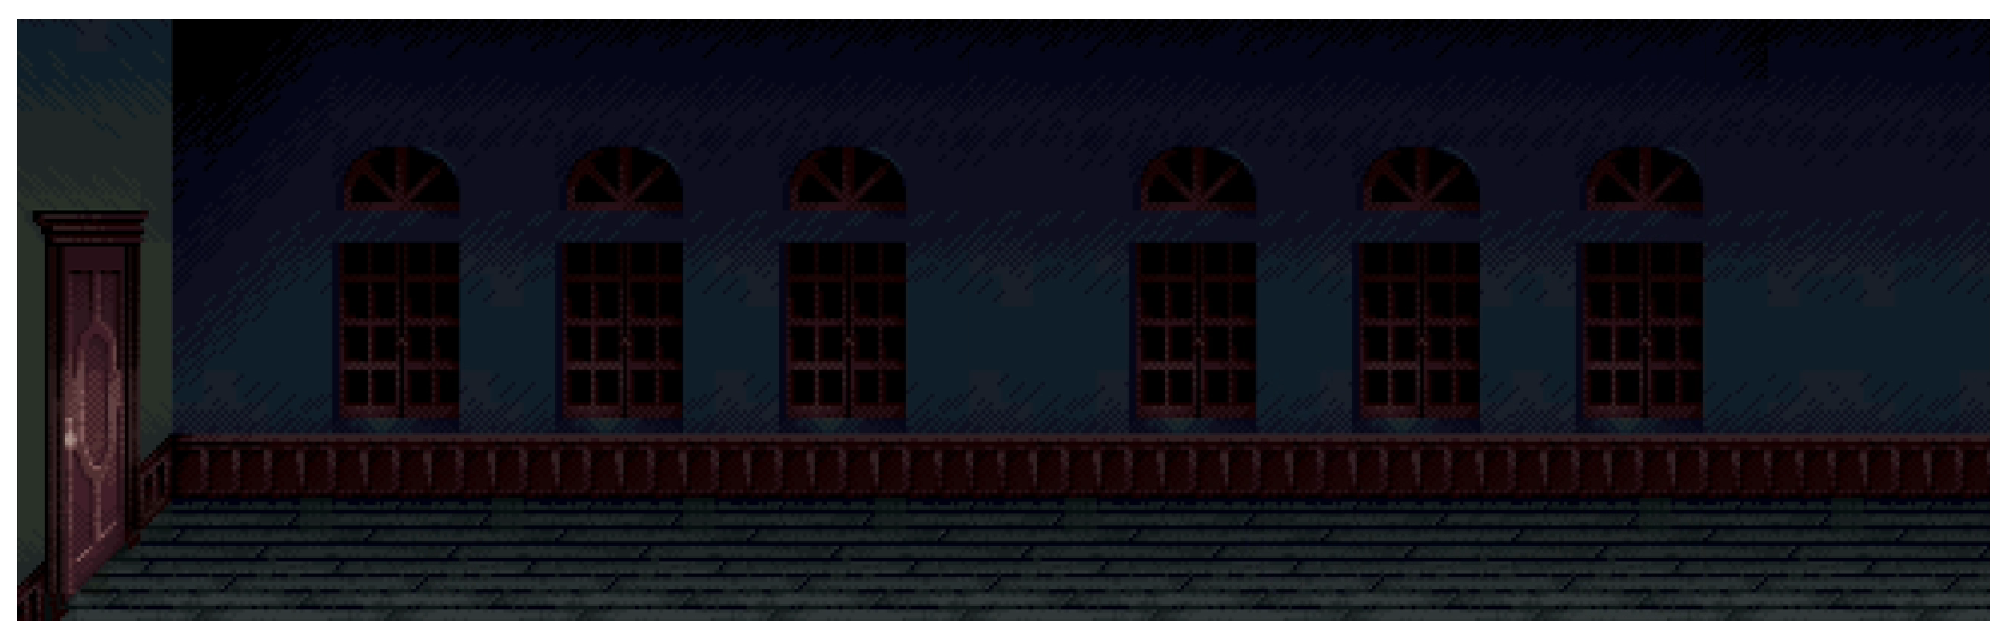
Look out the window if you hear a scream
|
South Hallway 2F
|
| Hiding Places |
Weapons |
| When running from Scissorman, there's a chance a portion of the floor will collapse. If you survive the Panic Mode, Jennifer will climb back up and the pursuit will be called off. |
None |
| |
| Scissorman Hiding Places |
Items |
| None |
None |
| |
| Things to do |
|
Look out the window if you hear a scream
|
Storage Hallway
|
| Hiding Places |
Weapons |
| None |
None |
| |
| Scissorman Hiding Places |
Items |
| None |
West Building Key (random) |
| |
| Things to do |
Examine the bird nest
Poke the bird nest with the pole
Push the crate over to the bird nest
|
Study
|
| Hiding Places |
Weapons |
| None |
None |
| |
| Scissorman Hiding Places |
Items |
| None |
Lantern (if Anne got thrown from the window) |
| |
| Things to do |
|
If the window was broken, you can use it to escape from Scissorman
|
Tower Climb 2F
|
| Hiding Places |
Weapons |
| None |
None |
| |
| Scissorman Hiding Places |
Items |
| None |
None |
| |
| Things to do |
|
Climb the ladder
|
Tower Climb 3F

|
| Hiding Places |
Weapons |
| None |
None |
| |
| Scissorman Hiding Places |
Items |
| None |
None |
| |
| Things to do |
Climb the ladder
Shake off pursuit
|
Tower Entrance

|
| Hiding Places |
Weapons |
| None |
None |
| |
| Scissorman Hiding Places |
Items |
| None |
None |
| |
| Things to do |
|
Nothing
|
Trophy Room
|
| Hiding Places |
Weapons |
| None |
None |
| |
| Scissorman Hiding Places |
Items |
| None |
Dagger (Rewind Mode only)
Cage Key (Rewind Mode only) |
| |
| Things to do |
Open up the cabinet in the back
Stab the zombie with the Dagger
|
West Bathroom
|
| Hiding Places |
Weapons |
| None |
None |
| |
| Scissorman Hiding Places |
Items |
| Inside the crate |
None |
| |
| Things to do |
|
Nothing
|
West Bedroom
|
| Hiding Places |
Weapons |
| Under the left-hand bed |
None |
| |
| Scissorman Hiding Places |
Items |
| None |
None |
| |
| Things to do |
|
Nothing
|
West Hallway (left)
|
| Hiding Places |
Weapons |
| None |
None |
| |
| Scissorman Hiding Places |
Items |
| None |
None |
| |
| Things to do |
|
Nothing
|
West Hallway 1F/2F (center)
|
| Hiding Places |
Weapons |
| None |
None |
| |
| Scissorman Hiding Places |
Items |
| None |
None |
| |
| Things to do |
|
Nothing
|
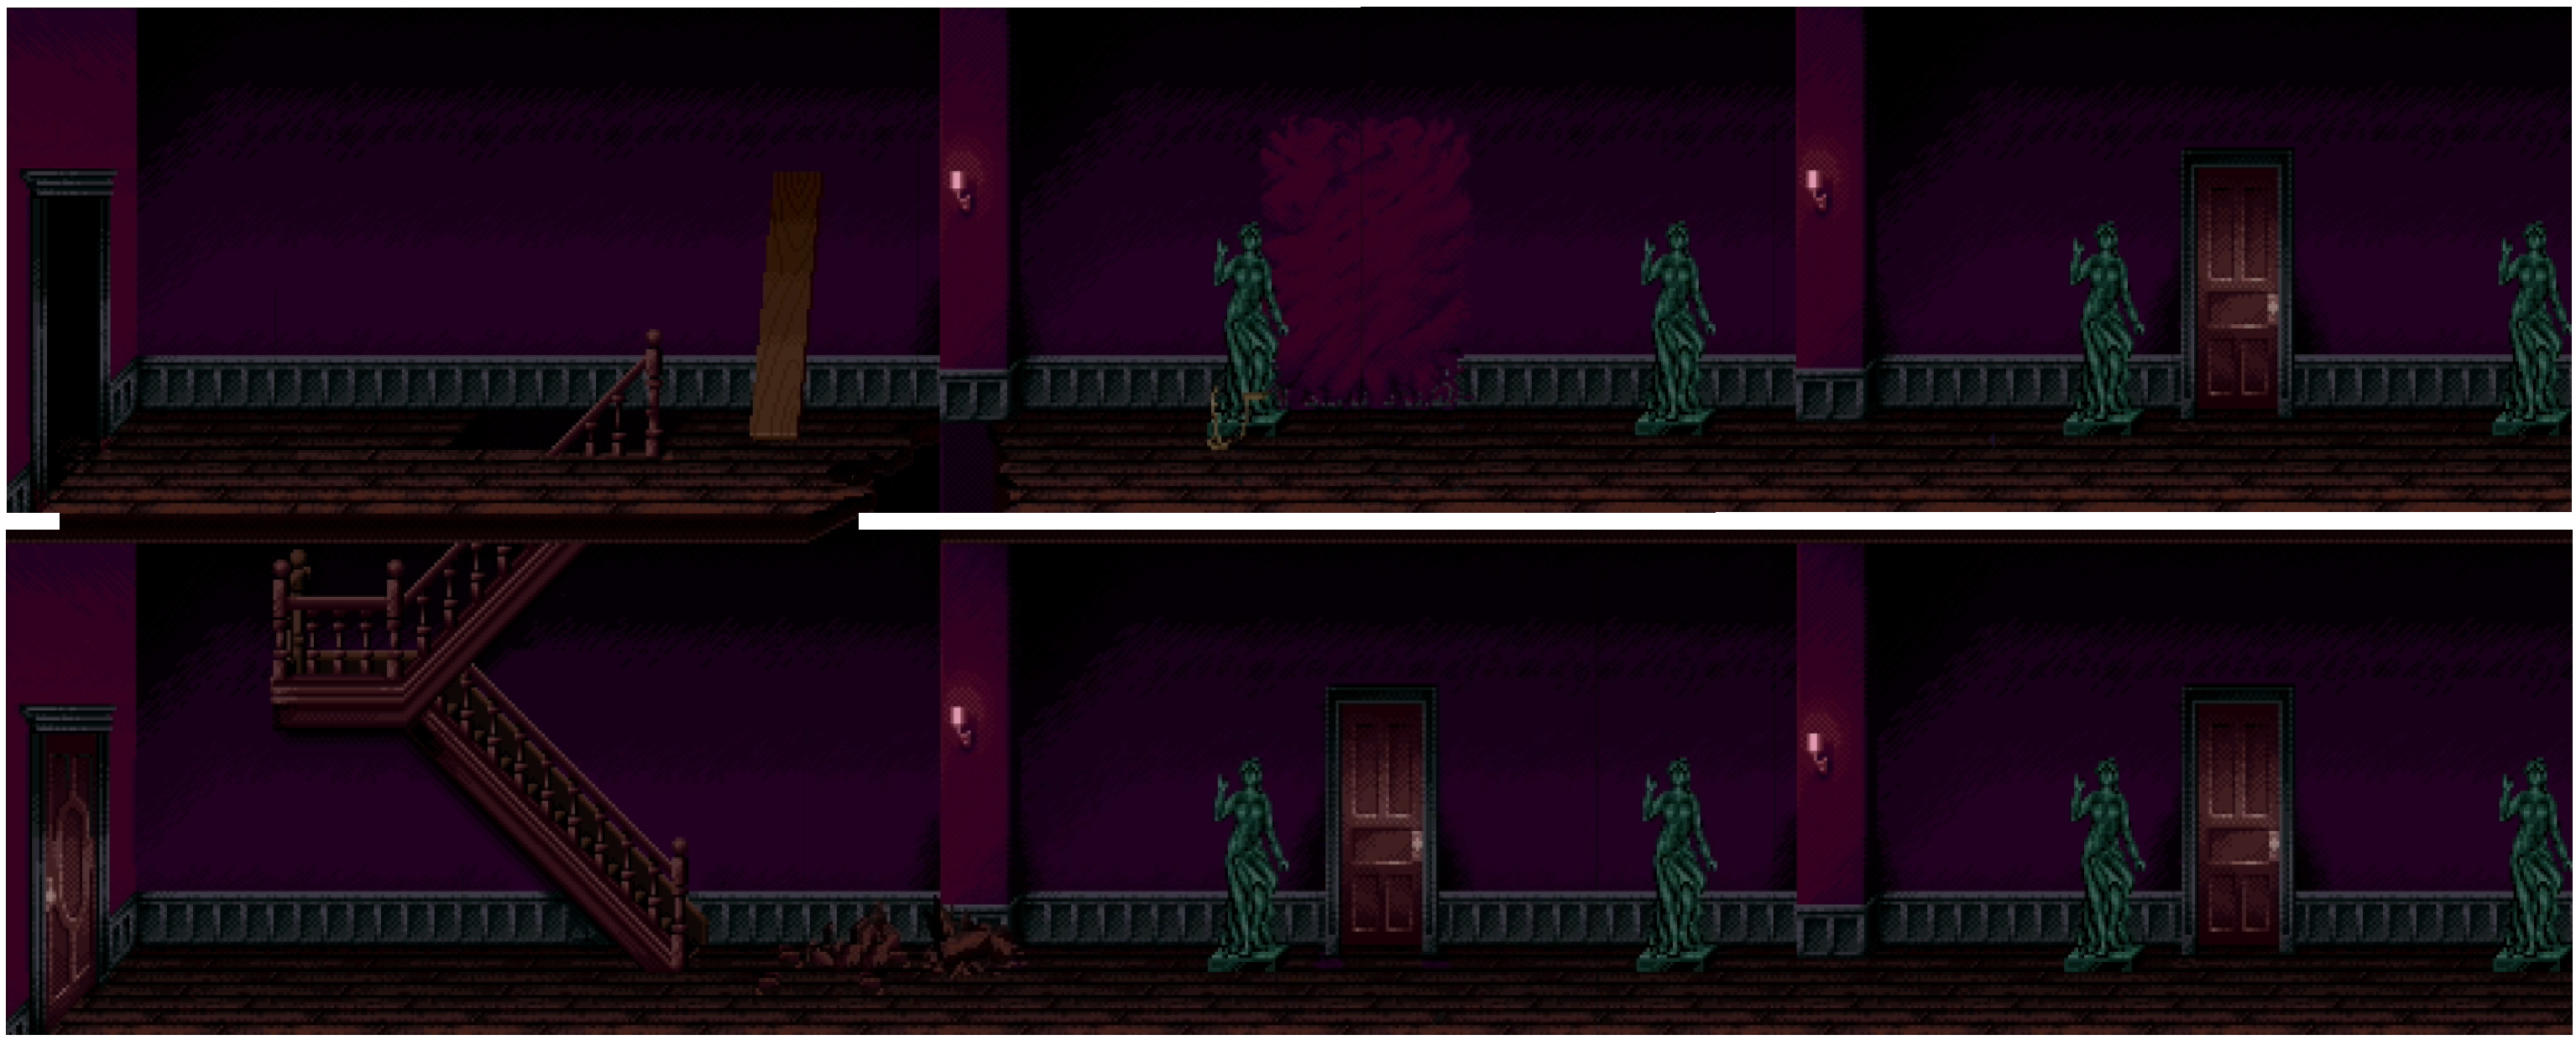
West Hallway (right)
|
| Hiding Places |
Weapons |
Gravity, if Jennifer runs across the open gap
Gravity, if Jennifer knocks him off the plank |
None |
| |
| Scissorman Hiding Places |
Items |
| None |
Statue (random) |
| |
| Things to do |
Gaze through the hole in the floor, cover it with a plank
Use Rope on far left statue on upper floor
|
West Storage Room
|
| Hiding Places |
Weapons |
| None |
None |
| |
| Scissorman Hiding Places |
Items |
| Inside the crate |
None |
| |
| Things to do |
Move the pallet of crates
Break down the discolored wall
|