
Rescue Agaar
Lakmir's Tower 4F
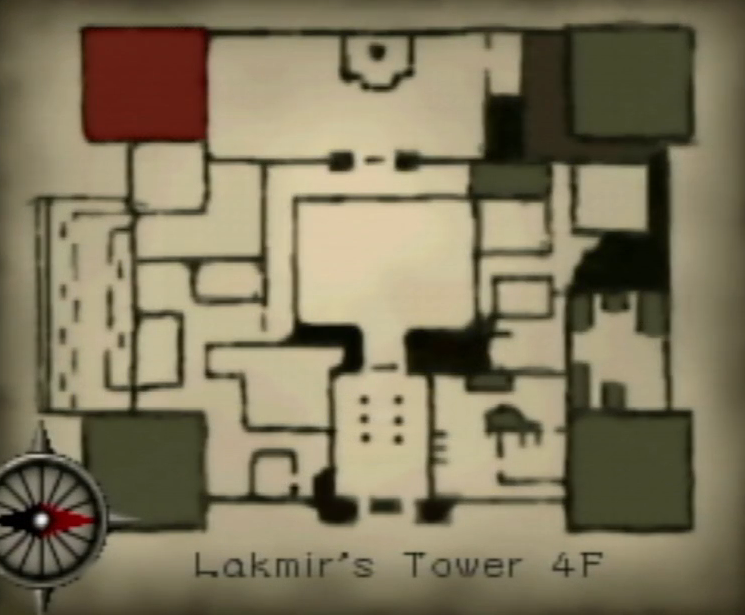
Now that we have our fancy rings, it's time to backtrack our way out of this tower. Head downstairs to the third floor and turn to the right. Approach the knight bust to teleport downstairs into a room in B1. There are two doors in this room - one to the left and one straight ahead. The quickest way out is to take the door ahead of you. Do so and we end up back in the L-shaped hallway outside the boiler room, so turn left and follow the hall to reach the stairs back up. Work your way through the foyer and up to the second floor.
Lakmir's Tower 2F
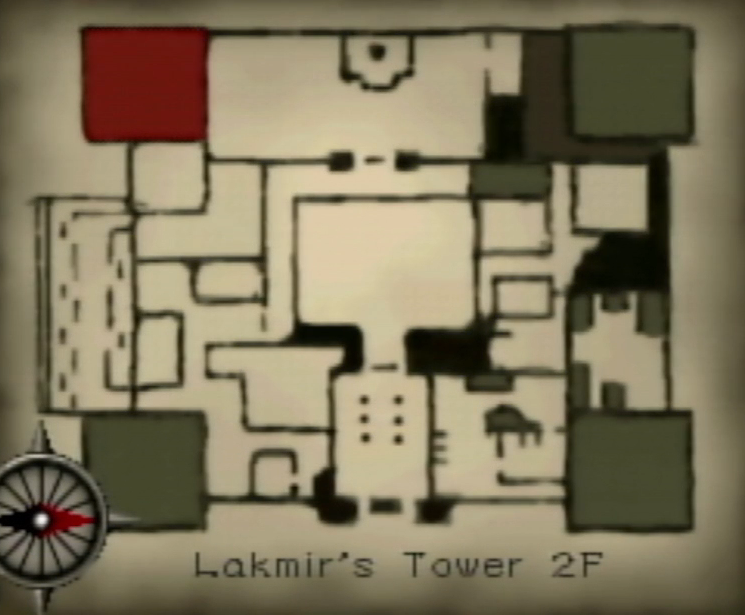
The way out lies beyond the second door on the right, the one in a recess. Head through that empty room and out the window, then carefully traverse the roof and head back down into the Cathedral.
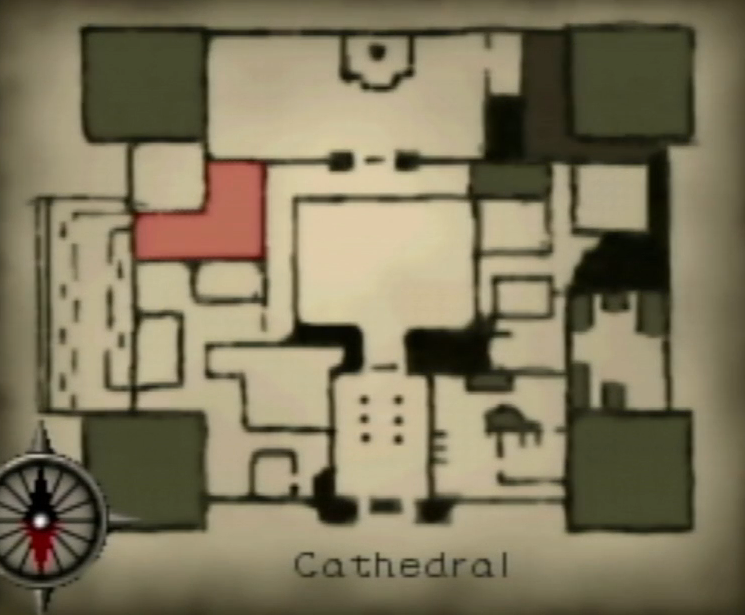
Cathedral
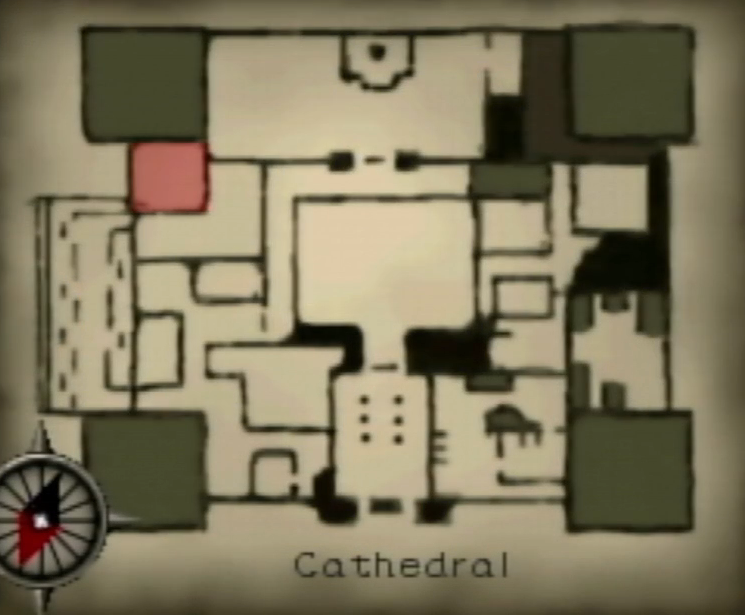
From here we need to head past the pews and downstairs into the room where we picked up the two keys and the Crowbar. Enter the door in here, across from the bookshelves, and you'll be in a small crypt area with two coffins. If facing the sculpture of the One, the coffin on the left can be opened to reveal that it is empty. The other coffin is locked. Use the Golden Key on it to release the lock, then open up the coffin lid to see the corpse of an old woman. Put on The Ring of the Dead and inspect her and her ghost will appear. She introduces herself as Jezibel, and laments the disappearance of her son, Saul. She entreats you to track him down, and hands you Jezibel's Pendant. After the conversation, remove The Ring of the Dead and then inspect the book being clutched by Jezibel's body. Pick this up to receive the Family Diary. Reading through this will reveal more about Jezibel's plight, as well as some key information about Saul.
It's time to leave the Cathedral, but we're going to take a brand new exit. Exit the crypt and turn right. Head to the wall and turn left, then walk down the short set of stairs. This door is locked, but luckily we have the Rusty Key we picked up back in one of the offices in Lakmir's Tower. Use that key to unlock the door, then open it and move through.
Cave (Hallway)
Having discovered a handy shortcut down into the sewers, turn right and make your way past the crumbled wall we found the Pickax earlier. Continue down the hall and mount the short stairs to reach a locked door. Use the Rusty Key on this as well, and head through the door.
Disciples Tower B1
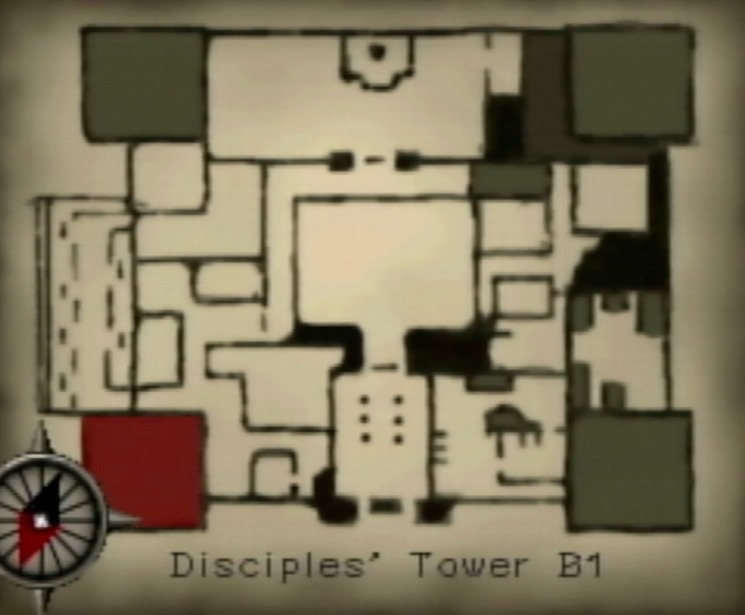
Head forward through the door straight ahead to arrive in a familiar hallway. Turn left and move forward until you reach the twin doors, then enter the one on the left to return to the room with the wooden rocking horse. Put on The Ring of the Dead and approach the beds. A ghost will appear and ask you to help track down his granddaughter, who went missing a long time ago. To aid you, he gives you the Cemetery Key. As a fun bonus, he agrees to unlock the front door of the tower. After the conversation is over, head over to the end table in the corner and pick up the Slipper. Child's footwear in hand, leave the room and head upstairs.
Disciples Tower 1F

In the foyer area, we are finally free to walk outside through the front door. So go ahead and open up those fancy double doors and walk outside this tower.
Gate Keeper's Room
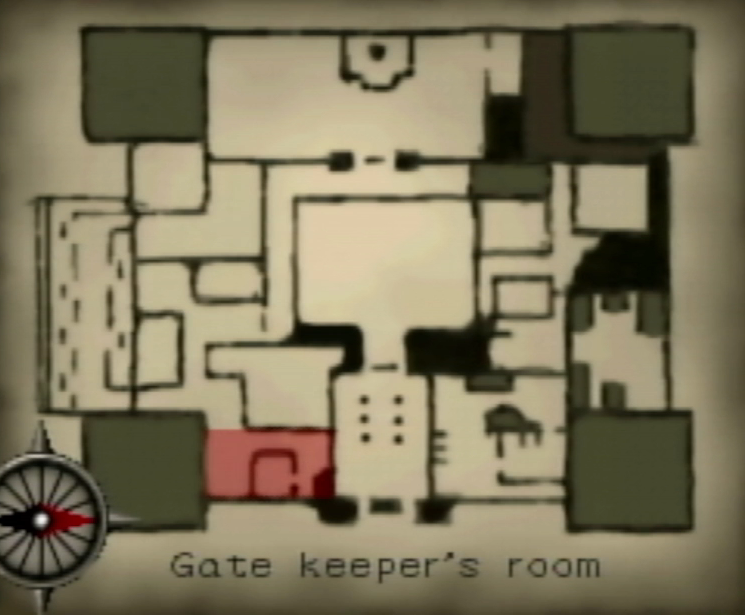
It might not be immediately obvious why the map labels this open area as the Gate Keeper's Room, but you can find out if you explore a bit. To discover the answer to this mystery, you can head forward from the Disciples Tower door and hang a right as soon as you can. You'll spot a small room with a man standing in it. You can chat with the eponymous gatekeeper if you wish, but he doesn't have much of use to say.
But if you don't feel like doing that, take a moment to clock the exits. With your back to the Disciples Tower doors, there is a passageway on the left, the gatekeeper "room" ahead and to the right, a door straight ahead along the far wall, and a door along the left wall near the far side of this area. Also if you turn to the right and walk into the corner, there's a Coin on the ground that you can pick up if you want more optional inventory. To continue the quest, cross the open space away from the Tower's doors and then head through the door along the left-hand wall.
Thieves' Room

Head forward and turn left to round the corner. There's a door pretty much immediately on your left after you make the turn. There's nothing in there except for a Broken Sword, but this has no use so you can ignore that room if you wish. In the hallway, head past this room and up the stairs at the end.
There's a door pretty much directly in front of you once you reach the top of the stairs. There's nothing you need in there, but you can head inside if you want to pick up the optional Gem, Dish, and Bracelet items. If we ignore this door, and still have our back to the stairs, turn left and enter this new door (note that if you are leaving the dining room area after collecting all the useless stuff, turn to the right to find the correct door). In this new room, pick up the D'narth Family Chronicles book from the endtable. In addition to some fun lore, this will give you some hints for a later puzzle. Once you have the book, turn left and approach the figure standing by the window.
This is Wil Goddard, a troubadour. Chat with him and he'll be so excited to have company that he'll play you a rousing tune. Agree to hear two more songs. After the third song is done, Wil rambles on about the dungeon keeper's love of music and prize violin that he had to give up. Wil mentions that he's the one who broke the violin, as well as the condition of the violin after the damage was done. He also hands you a White Flower. That's all we need for this area for now, so head back downstairs and outside.
Gate Keeper's Room
Turn right and head toward the double doors that lead to the Disciples Tower. Instead of going through the doors, however, turn right once you reach them and head down this path into the next area.
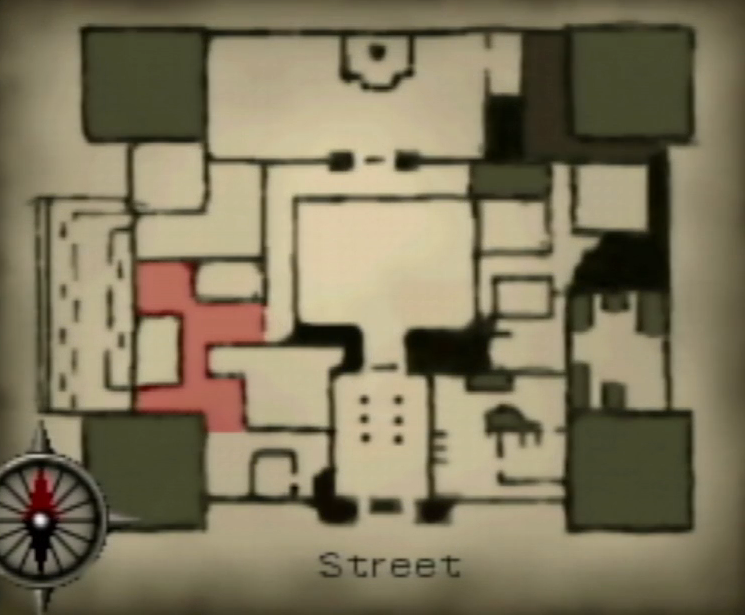
Streets

Here we find ourselves on what is likely considered the main street of the town. It may not be the only street, but it's the only one that hasn't fallen apart. Move forward and round the corner to the left to see the street in all its splendor. At the far end of the street is a shop that we can't do anything with yet, and before that is the Rusty Sword Inn along the left-hand wall. Approach the door to the Inn, but take a quick pause before you enter. Open up the ol' inventory and put on Jezebel's Necklace. Now that you're properly decked out, enter the inn.
Rusty Sword Inn
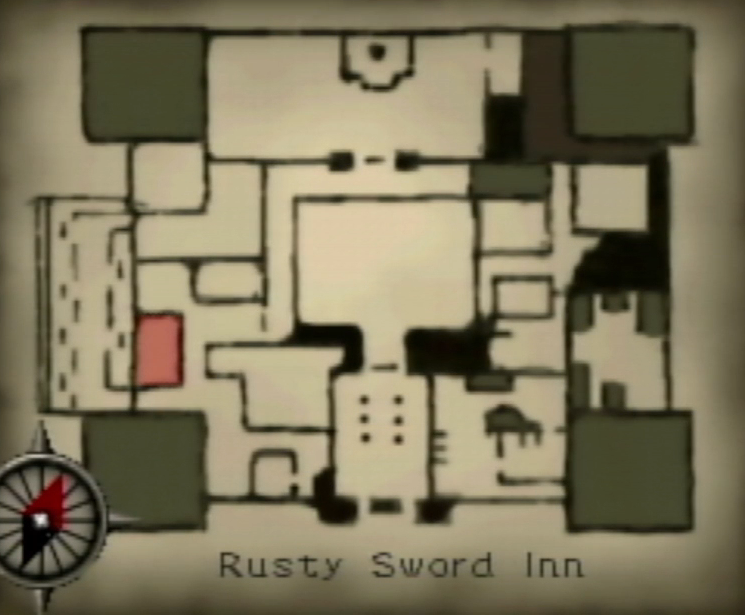
Once inside, you'll be greeted by the Innkeeper. If you're wearing the necklace, he'll accuse you of grave robbing. When you get a chance, assure him that you're not a filthy grave robber. He still doesn't believe you can commune with the deceased, so he decides to quiz you on your knowledge of Jezebel's son, Saul. There are various notes and books and conversations that you've been directed to pick up that gives you all the answers you need. But just for fun I'll include the list here. There are a grand total of 6 questions that could be posed, but you only need to get three randomly chosen ones correct to proceed. If you get any of the questions wrong, just head back inside and try again.
- What season was it when Saul came home?
- Late Autumn
- High Winter
- Who did he leave with on the night he was last seen?
- Thief
- Dwarf
- What's the name of Saul's Friend
- Logan
- Lucas
- What was Saul hoping to find?
- Magical Artifacts
- Gold and Gems
- How long after he left did the poor woman die?
- A fortnight
- A week
- What did Jezibel become sick with after he left?
- Black Death
- Scarlet Death
Once you've sufficiently proven your merit, you will be allowed to explore the Inn to your heart's content. The narrator will remark that Del notices a striking looking woman in the corner. Seems important, so spin around and approach the woman in a red cloak. Chat with her and she'll reveal that she was responsible for Del being captured rather than killed. She also asks you to free her brother, Agaar, whom we met at the beginning of the game in the cell next to ours. Agree to help her and you will be given a magical Orb. If you want, you can head upstairs and find a Travel Guide in one of the rooms. We're done here for now, so go ahead and exit the inn.
Street
Turn left and head further into town. We can't do anything of use in the shop yet, so head past that and approach the large gray doors. They are locked, so use the Cemetery Key to unlock it and head through.
Cathedral Yard
The name of the key is a bit misleading, since it does not lead directly to the cemetery. It does, however, allow us to access this area without wandering through the sewers. At any rate, turn left and through the doors to reach the actual cemetery.
Cemetery
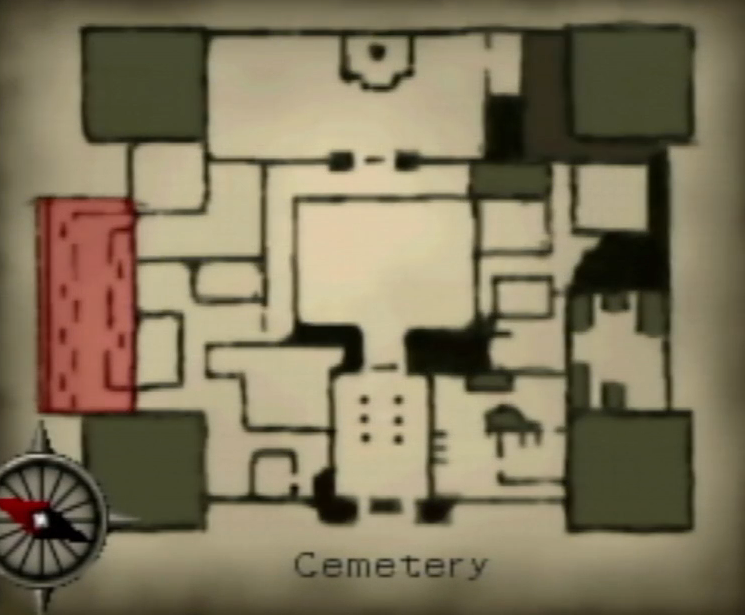
First off, equip the Ring of the Dead. There are a number of gravestones here that you can approach and have a chat with a spirit. There are a few here that will give you various vague hints or lore. The important grave is at the end of the path, tucked away to the right. This is the grave of a wealthy aristocrat named Aristolin. He'll profess a mix of sadness and anger that no one comes to his grave to grieve. When he's done lamenting, use the Flower that you got from Wil Goddard and Del will lay it at the grave. Aristolin is touched by your act of kindness and offers to give you his hoard of wealth. You just need to find his servant. To do so, head back through the cathedral and down into the sewers.
Drain
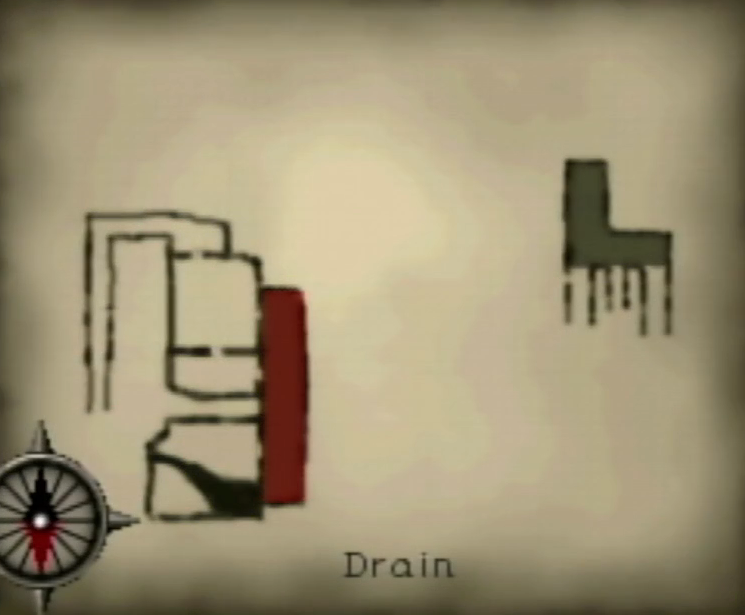
Back in the Drain room, stand with your back to any of the doorways. Turn right and head over toward the large grate. The water will get a bit deeper, and Del will realize that he can't walk too much farther. Look down and approach the skeleton submerged in the water. As long as you're still wearing the Ring of the Dead, then the ghost of the servant will appear. If you've given Aristolin the Flower, then Del will gain the shade's trust by using his given name of Dersius. If the ghost refuses to talk to you, then you need to head back and pay tribute to Aristolin. Once you've gained the spirit's trust, he'll turn over the Treasure. Make your way back to the Street.
Street
Now is finally time to enter the shop!
Festus' Shoppe
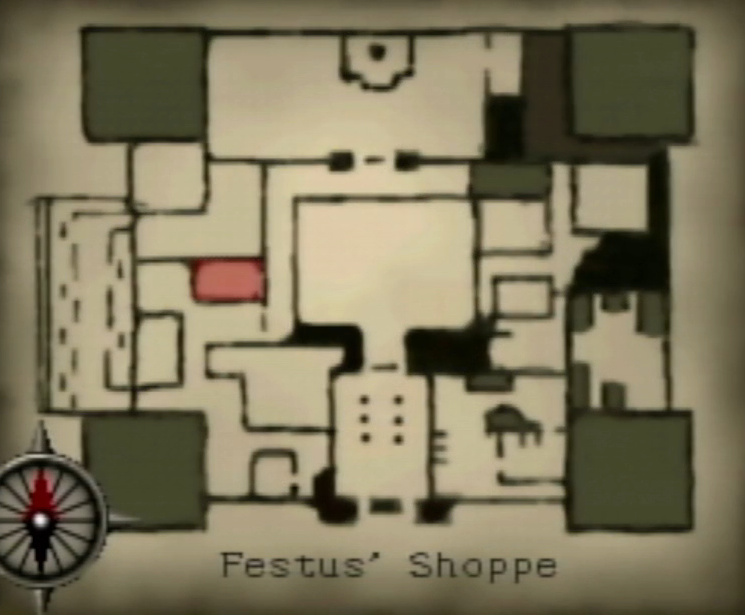
If you talk to Festus after having talked to the troubadour and learned of the dungeon keeper's violin, he'll let you know that he can't just sell it since it was pawned and is still on hold. However, he'll relent if you give him the Treasure. The bribe may have been accepted, but he can't quite recall which of the three violins he has in hock came from the dungeon keeper. If you recall the tale from Wil, you'll also no doubt recall that the violin was chipped. So just say no to all of Festus' offers until he asks about the Chipped Violin, and then affirm that this is the correct one. Head back to the Thieves' Room.
Thieves' Room
Once more follow the hallway left around the corner, then enter the door on the right at the end of the hall. This is the dungeon keeper's room, and if you hang out in here too long he'll recapture and kill you. Ahead of you is a partition wall. Move forward along the right side of the wall to see a music stand, as well as a table with a violin bow on it. Place the Chipped Violin on the table. Now quickly run around to the other side of the partition wall, and hang out by the fireplace. You'll hear the dungeon keeper stomp into the room, and then some soft violin music. Quickly dash behind the dungeon keeper, who will be too distracted by playing his beloved violin to notice you, and run to the other side of the room behind the bookcase. Pick up the Dungeon Key hanging on the wall, then head down the nearby stairs.
Dungeon
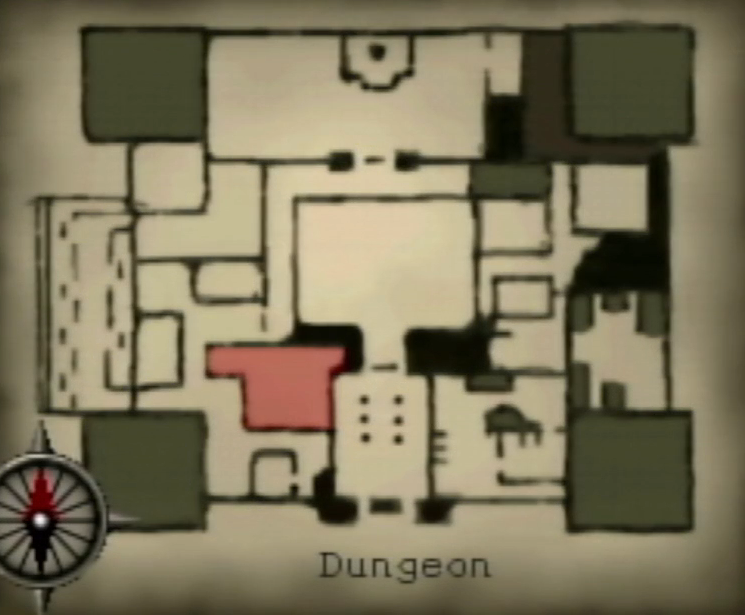
Turn right at the t-intersection a few steps in front of you, then look into the first cell on the right. Inside is Agaar. Use the Dungeon Key on the door, then move inside and hand over the Orb. Agaar barely has time to thank you before the dungeon keeper arrives and locks you both in the cell! Now that Agaar has his magical artifact back, he is able to teleport the two of you outside the cell to swap places with the dungeon keeper. As soon as you get the chance, turn around and use the Dungeon Key on the door again to lock it.
You have now rescued Agaar! Move on to the next part of your quest by following him back to the Rusty Sword Inn.