Dragon's Tower
Trials Tower B1
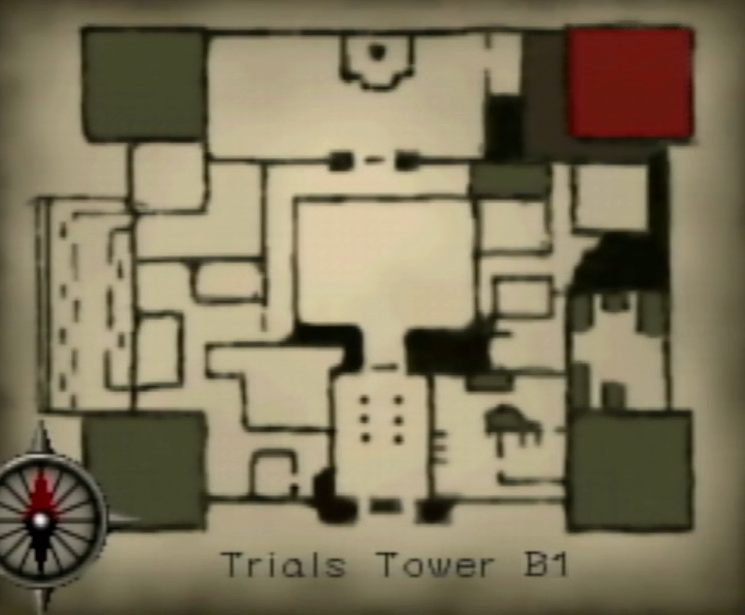
After stepping on the white square, you'll be teleported back down to the entrance of the tower. Lakmir will once again appear and have a chat, complete with a vague hint about where to go next. Head to the Disciples Tower and walk through the main door.
On your way to the tower, you can swing by Festus' Shoppe if you want to. If you've been following along, you should have all four Coins. Festus will have five useless items you can buy if you wish. So if you want your inventory to contain a Brooch, Jewelry Box, a dubious piece of Fruit, a Gauntlet, or a fine pewter Cup, this is as good a time as any to hand over your Coins to Festus.
Disciples Tower 1F
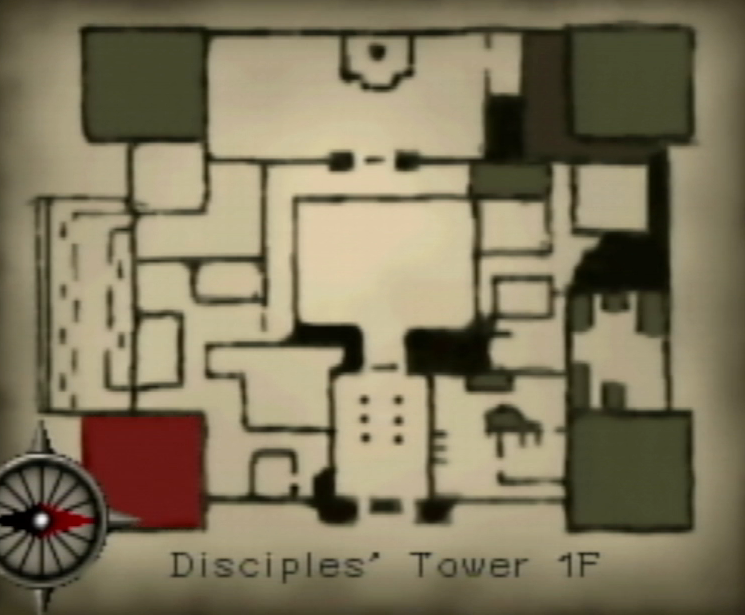
Back in the foyer, there's a door with a dragon etched into it that we could not open before. Examine it now while wearing The Ring of the Kingdom and Del will be able to enter the door. Once inside, pick up the Dragon Flute from the fancy pedestal in there. Make your way back to Excavation Area 2.
Excavation Area 2
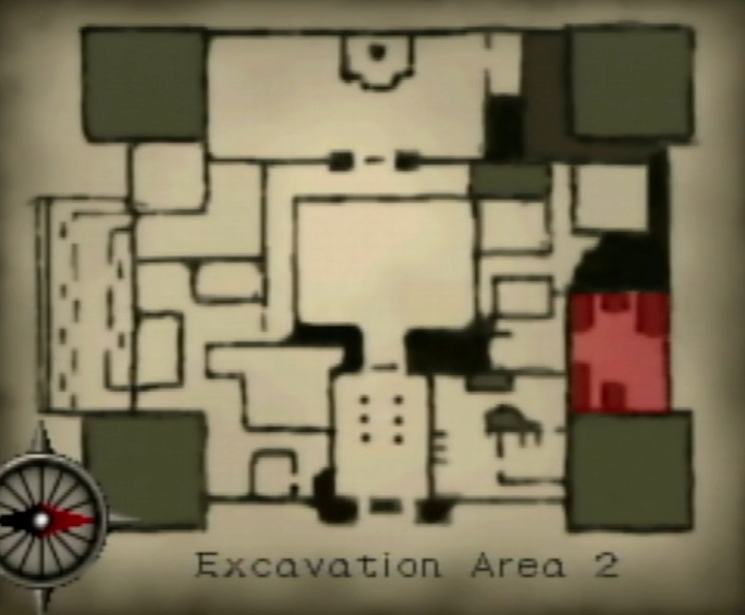
Walk across the narrow bridge and past the ladders. Turn right when it's safe and approach the tower doors. Use the Dragon Flute and its tune will unlock the doors. Head inside.
Dragon Tower 1F

Follow the narrow path around a couple corners, and keep an eye out for a thing bridge on your left. Cross that bridge and enter the doors in the central structure. You can pick up the The Last Dragon book on one of the tables in here. On the other side of the room from the book is a ladder, which you will need to climb down.
Dragon Tower B1

Pick up the Dragon Eye gem on the table, then move back up the ladder.
Dragon Tower 1F
Head back to the main path, turn left and continue around corner until you reach a golden dragon relief. This one is missing a tooth, so use the Fang that you picked up in Agaar's Room on it to fill in the gap. This will cause some stairs to rise up. Head up the stairs and carefully follow the path around various corners and up various stairs until you reach the top floor.
Dragon Tower 4F
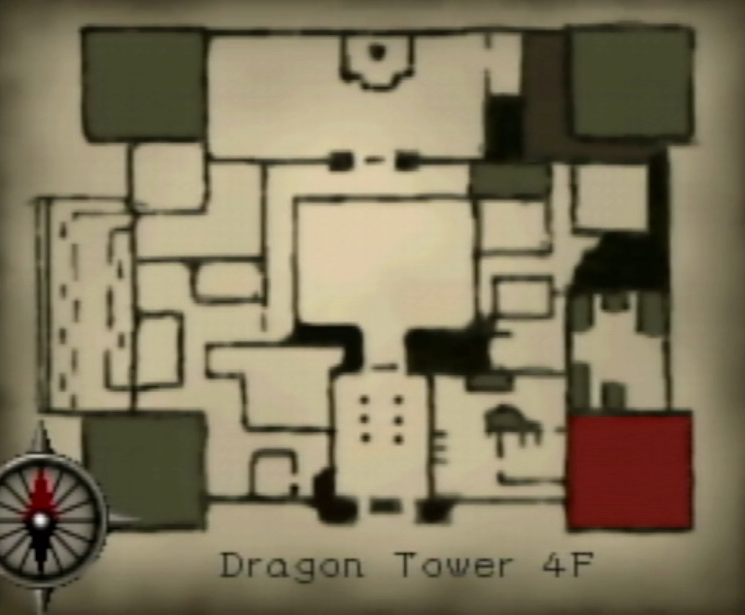
Turn right and head into the dragon keeper's room. There's a Words of D'Narth book on the desk for some fun reading. Head past the desk to the bed, and check out the unstrung lyre on the floor. Use the Hair of Giant on it to restring it, which causes it to vanish. Now put on The Ring of the Dead and head back toward the desk. I'm not a hundred percent sure where the hotspot is, but it's somewhere between the corner of the desk and the wardrobe. Once you hit it, the ghost of D'Narth the Dragon Keeper will appear and thank you for repairing his dragon lyre. He'll reveal that the path forward is barred to those that don't know a certain song. He'll play the song, and the nice part about playing this game in the modern era is that you can pull out your cell phone and record it. I do not envy people trying this back in '99.
At any rate, pay attention to the song he plays, then head through the door in this room. You'll emerge into a room with a large gray dragon statue and four small golden dragon statues. D'Narth's song can be broken up into four sections, and each golden dragon will play the melody of one of the sections. Each wing can be moved to play the statue's song section, but the tricky part is that only one wing plays the melody in the correct key.
Here's the song in its entirety, in case you didn't record it:
When facing the large gray dragon, there will be a golden dragon in the back left corner, front left corner, front right corner, and back right corner. The song sections aren't really in any order among them, and you'll have to bounce around a bit to pull this off. I know you're itching for the answer by now, but I spent time figuring this out so you're taking this ride with me. Plus, if a lightbulb goes off while we're stepping through this you can run off and see if you can finish it off. First, we break the song down:
Part 1:
Part 2:
Part 3:
Part 4:
So that's how it's broken up. The next step is to figure out which statue corresponds to which part. When inspecting them, you can choose either wing to move just to figure out the melody. What we discover is this:
| Front Left: | Front Right: |
|
|
|
| Back Left: | Back Right: |
|
|
|
So the order is: Front Left, Front Right, Back Left, Back Right. From here you just need to compare each wing with the song to determine which one has the correct pitches. Here are the comparisons:
| Front Left: | Front Right: |
| Original Song: Left Wing: Right Wing: |
Original Song: Left Wing: Right Wing: |
| Back Left: | Back Right: |
| Original Song: Left Wing: Right Wing: |
Original Song: Left Wing: Right Wing: |
Once we're done comparing the melodies, we arrive at this order:
- Front Left - Right Wing
- Front Right - Left Wing
- Back Left - Left Wing
- Back Right - Right Wing
Whew! Hopefully our deaf players didn't mind having to read through all that to solve this. Anyway, once the correct sequence has been entered, the large stone dragon head will lower to the ground and create some stairs heading up to the roof. Follow them upwards.
Dragon Tower Roof
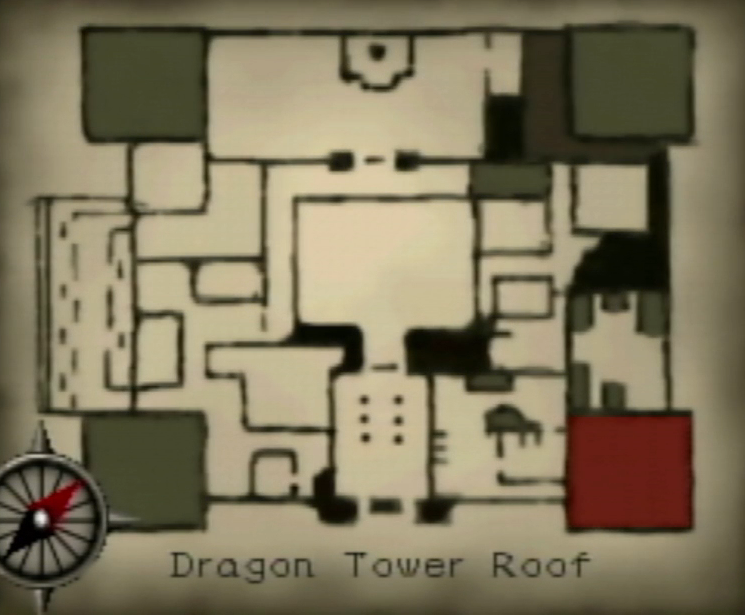
Up on the roof you'll spot a huge statue of a sleeping dragon. Lakmir shows up for a quick convo before fading away again. Equip The Ring of the Kingdom and then pick up the Staff of Ages sticking out of the dragon's head. Freed from the spell, it will awaken and give Del a lift back down to the ground.
Stable (Outside)
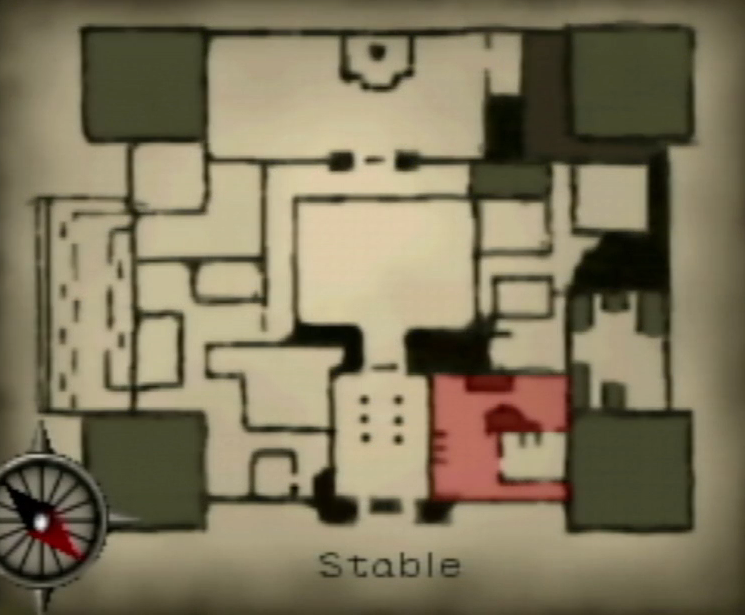
You get dropped off outside the Stable. You may have been in this area earlier if you were out wandering around on your own. The ultimate goal here is to get to the Castle Gate, but we can't do that just yet. If you were there before, you would have noticed some dwarf guards standing passively at the main gate. With the dragon having awakened, they are now patrolling the grounds and you won't be able to make it safely past them. We'll need a distraction, so enter the doorway right next to where the dragon placed you.
Stable (Inside)
Walk forward to the small square trough of hay. Use the Flint on it to start a small fire, then turn around and leave the way you came.
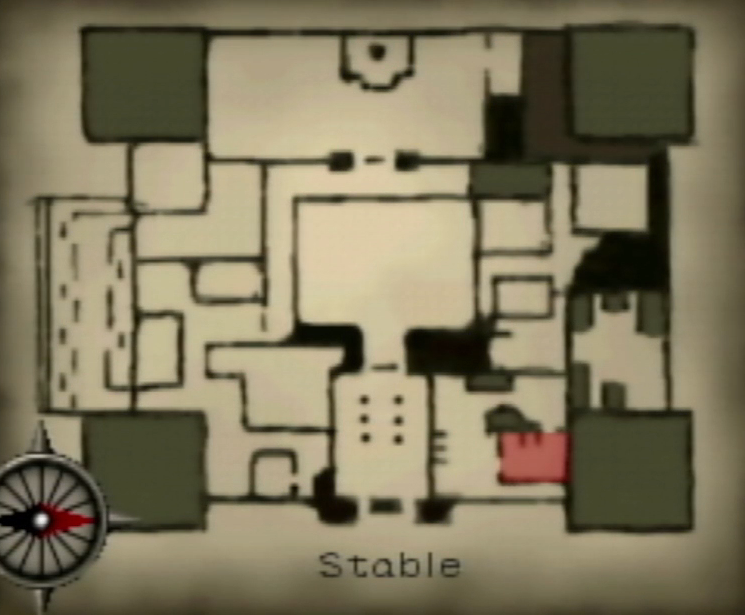
Stable (Outside)
Move forward a bit, then turn left just before you reach the wall. Make a beeline for the doors that you see in the distance, now that the dwarf guards have been distracted by the fire, and head through.
Castle Gate
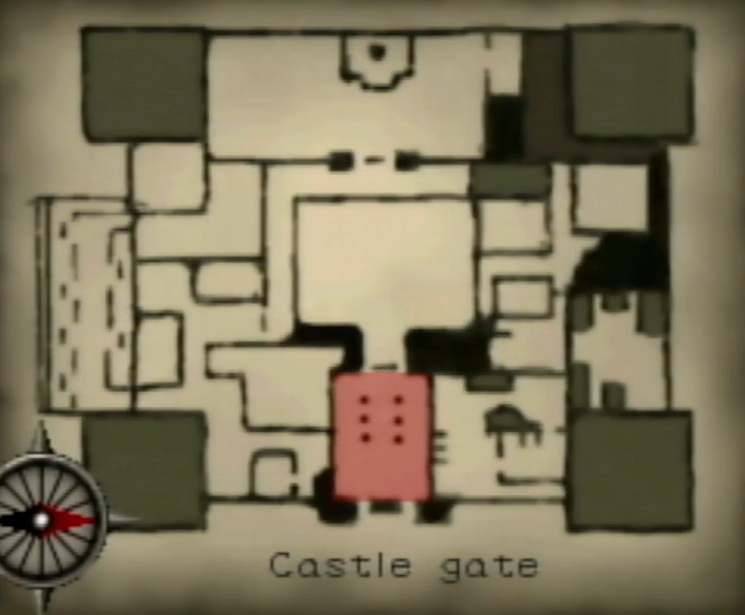
Once you're through, turn right and approach the man in the fancy robes. You can chat with him if you want, but he'll tell you to leave. When standing directly in front of him, go into your inventory and select Jezibel's Necklace to hand it to him. Turns out that this is Saul, and he's so disturbed by the sight of his mother's necklace, and ensuing news of her death, that he repents his evil ways and moves away from the door. Head inside.
Chamber of Holding
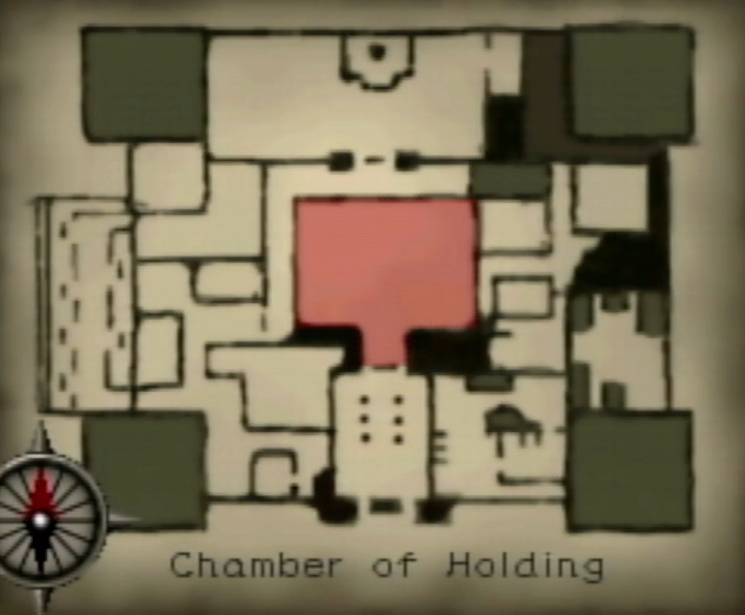
Head forward until you reach an alter with a staff sticking out of it. It looks almost like the Staff of Ages, except it is missing the sphere on top. We can glean from what others have said that Belzar thinks he has the legendary staff and is using it to resurrect the Warlock Lord. He already does not have the correct staff, but maybe we can sabotage him even more. Use the Dragon Eye on the staff. Del will hear someone coming and hide behind a pillar.
Watch the ensuing scene and enjoy the chanting soundbyte. The fake staff does the trick and destroys Belzar and wrecks the chamber. Lakmir shows up one final time to let you know that the Warlock Lord was still able to escape his prison. Once Lakmir fades away, leave the Chamber.
Pathway to Park
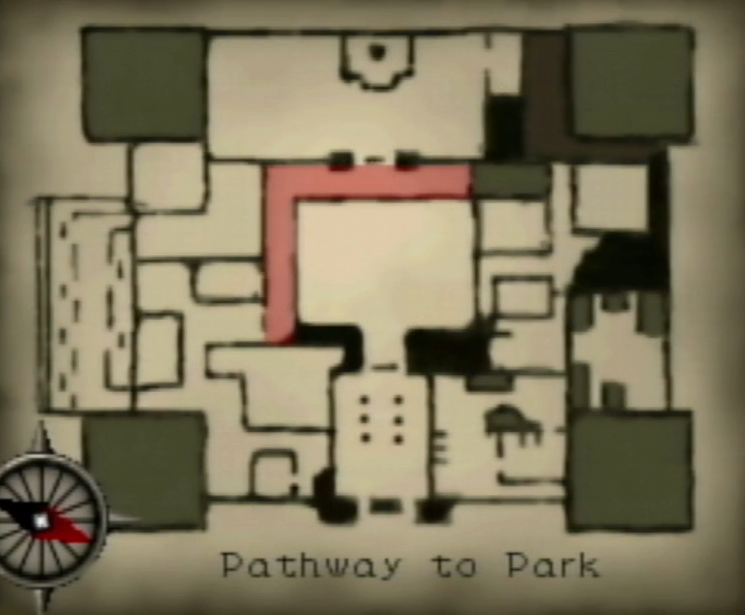
The town sure has seen better days. Talimar's destructive tendencies have left no other paths open other than the doorway leading to the Park. So go ahead and enter that area.
Park
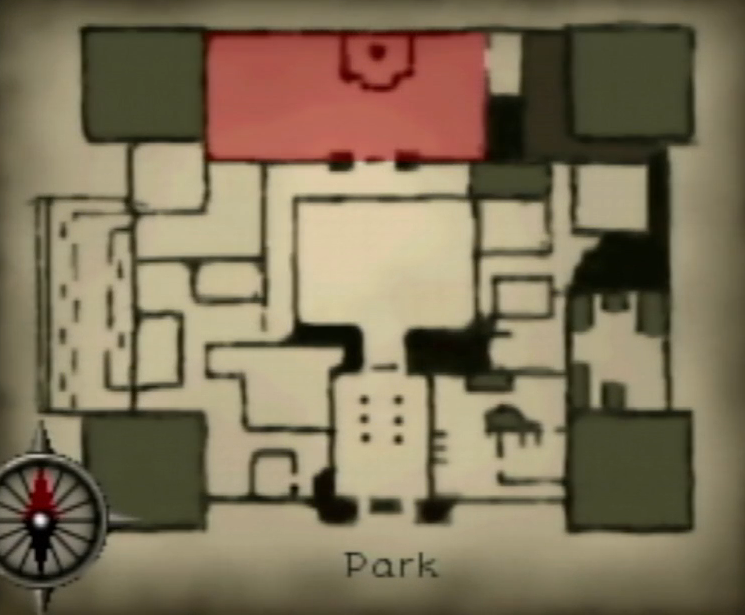
Approach the statue of Jair. Part of Talimar's wrath seems to have been to drain the fountain, to it's safe to just walk right up to the statue now. Make sure you're wearing The Ring of the Kingdom, then use the Staff of Ages with the statue. Once Jair's visage is holding the staff, use The Ring of the Kingdom on the statue to toss it onto one of the statues fingers.
Once Jair's statue is holding both staff and ring, it will come to life long enough to defeat the Warlock Lord.
Thus we arrive at the second story's end!